

man in the maze drawing
In normal circumstances, getting lost is no fun. However, when you choose to get lost by entering a maze, that's a different story.
Mazes come in many different styles and forms, but each provides a fun and claustrophobic challenge to overcome that can become addicting.
Designing your own mazes can be just as fun, and learning how to draw a maze can allow you to do that.
By the end of this guide, you will have all the tools you need to design your own twisty mazes.
This step-by-step guide on how to draw a maze in 6 steps will make sure you don't get lost along the way.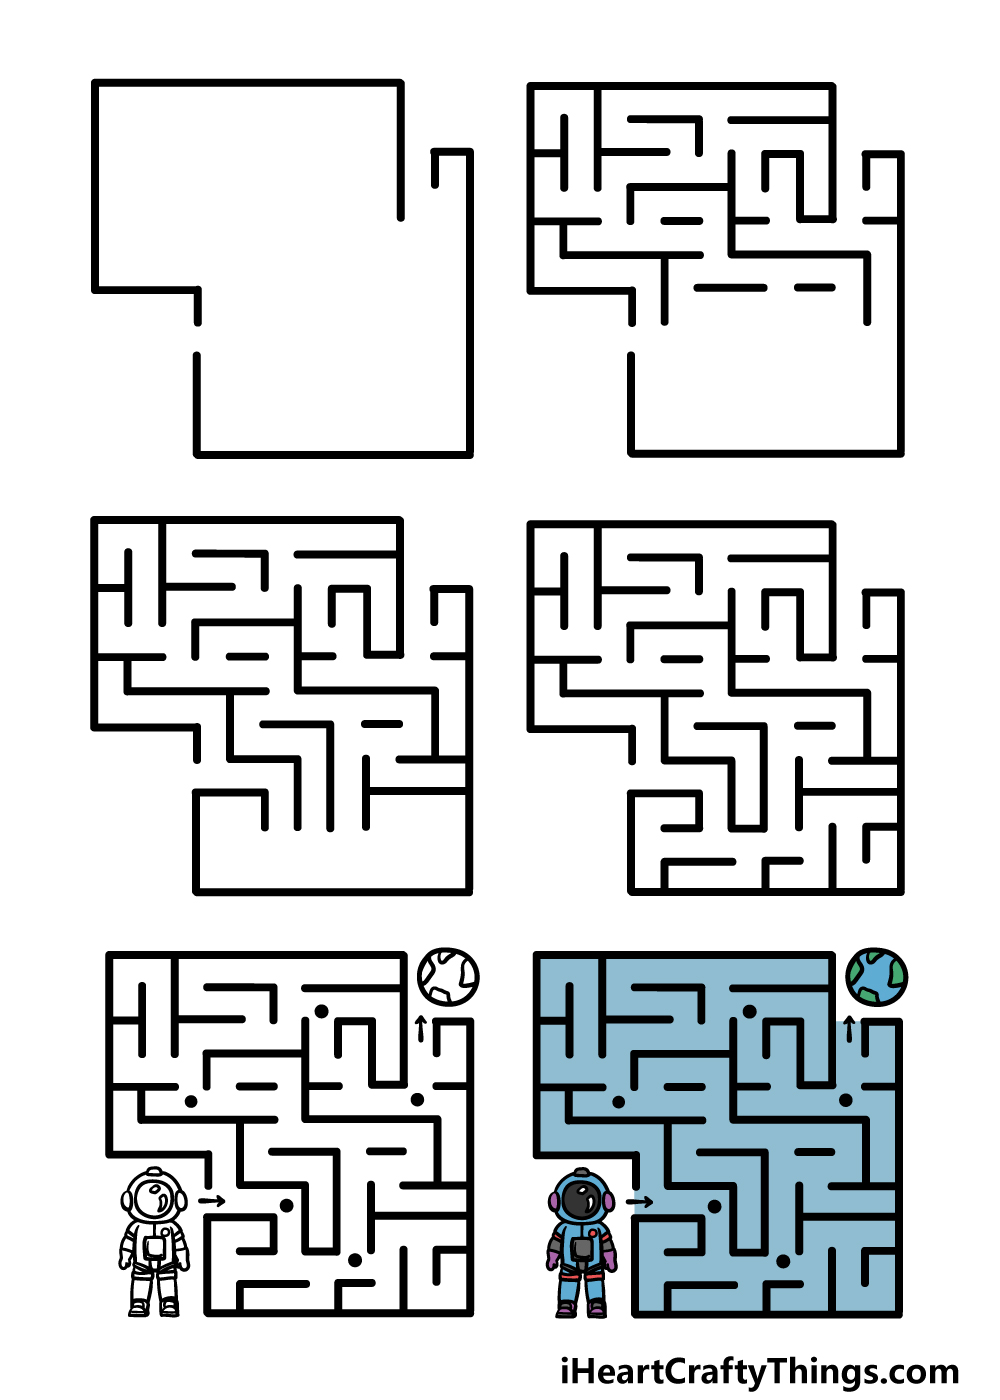
What's in this Blog Post
- How to Draw A Maze – Let's get Started!
- Step 1
- Step 2 – Next, start drawing the twists of the maze
- Step 3 – Now, continue drawing the twists
- Step 4 – Next, finish off the twists of the maze
- Step 5 – Now, finish off your maze drawing
- Step 6 – Finish off your maze drawing with some color
- Your Maze Drawing is Complete!
How to Draw A Maze – Let's get Started!
Step 1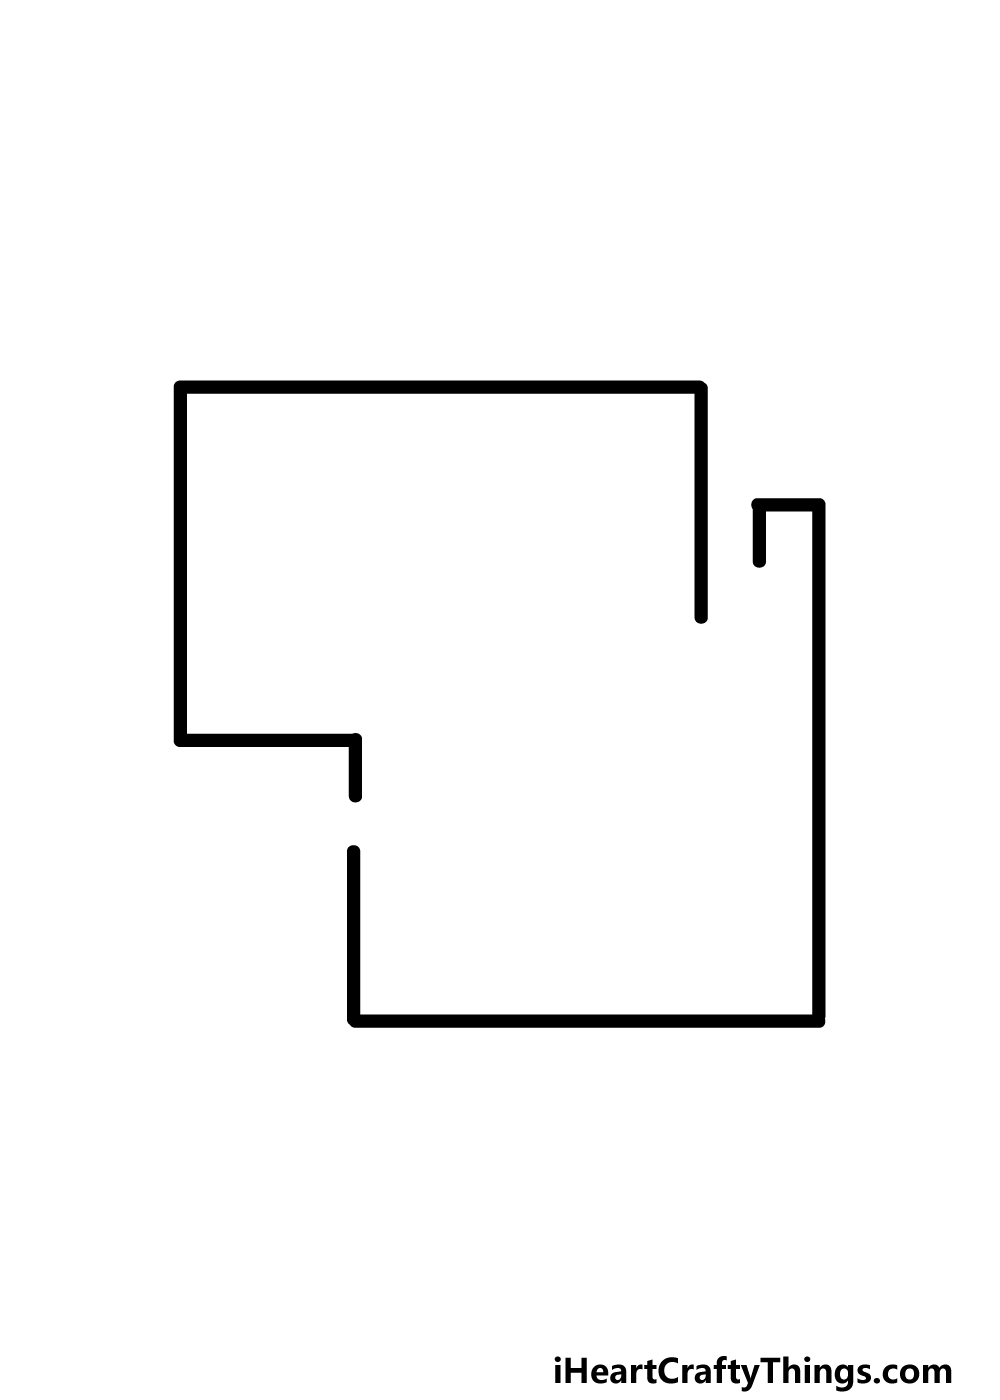
In this guide on how to draw a maze, we will be focusing on a specific maze design. You will beagle to take what you've learned to draw your own designs, but there are a few things to keep in mind.
A maze should always be fair, in that there should always be a path to the end goal. Good mazes will also usually have lots of dead ends to trick people, and the more you have the more difficult it will be.
You can add as many dead ends as you want as long as there is a true path to the end!
For this maze we are drawing, you will want to have a ruler on hand. Once you do, carefully draw the outline as it appears in our reference image.
The outline will be quite squared, and you'll notice the two gaps that will form the entrance and exit to the maze later on.
Step 2 – Next, start drawing the twists of the maze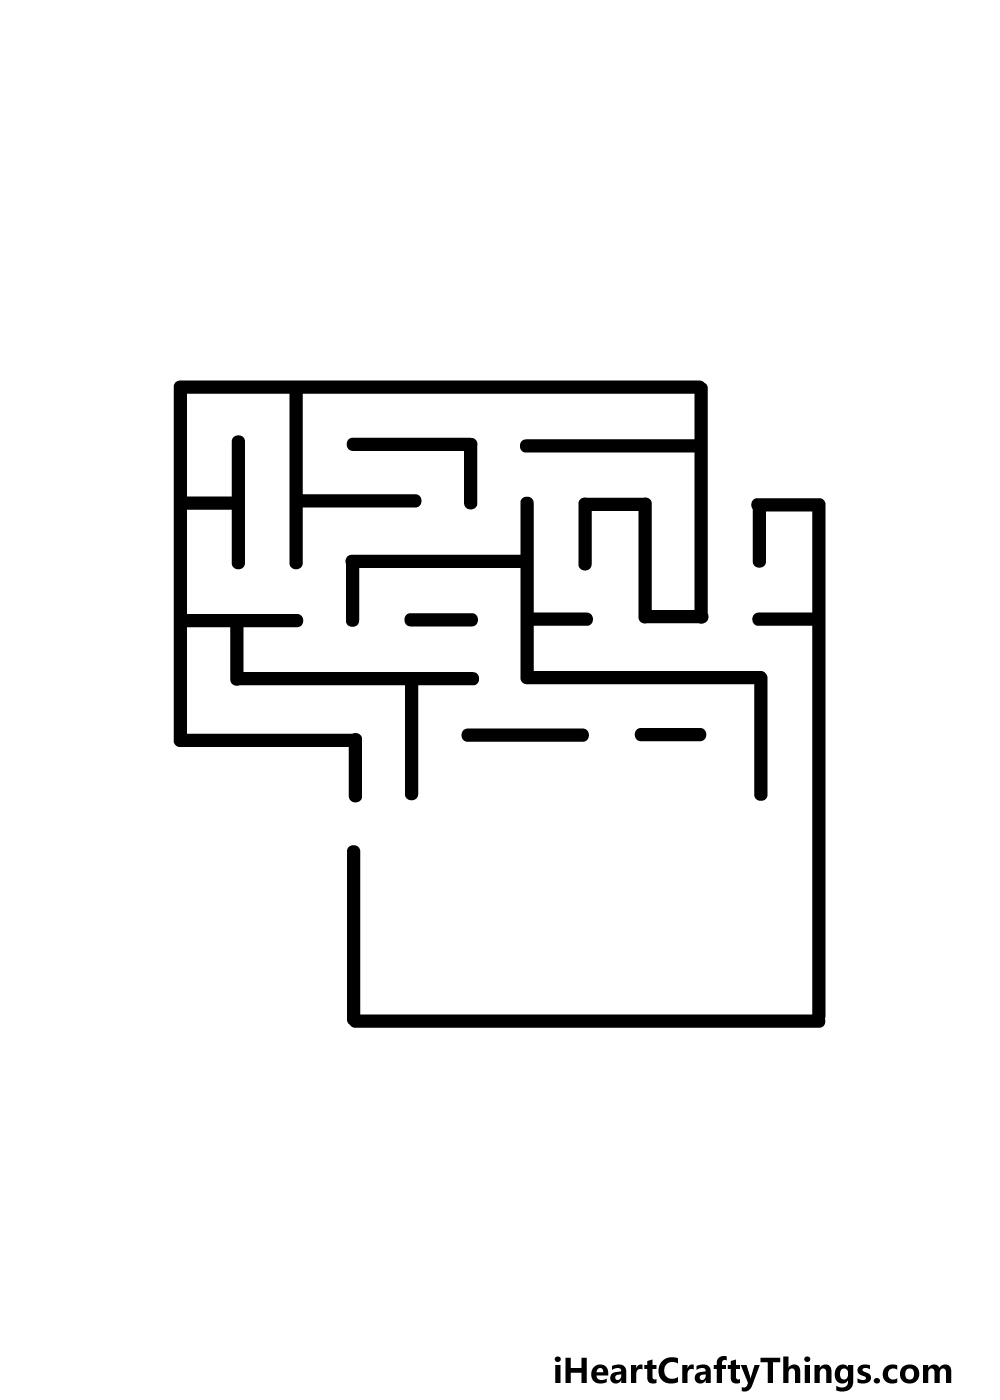
This is where things can start to get tricky. For this part of your maze drawing, we will be starting on the twists and turns of the maze.
One way you can make this easier is to take a pencil and plot out the path to the end so that you can keep it in mind.
Then, using your pencil you can start to draw the other lines and dead ends for the maze.
Even if you change up the paths from our reference image, make sure you don't draw over that pencil path to the goal!
Step 3 – Now, continue drawing the twists
We will continue to draw some twists in this step of our guide on how to draw a maze. Using the reference image and your ruler, you can extend the twists further down into the outline of the maze.
As you draw, don't forget to make sure that you don't draw any paths over the line you drew that shows the way to the exit.
Step 4 – Next, finish off the twists of the maze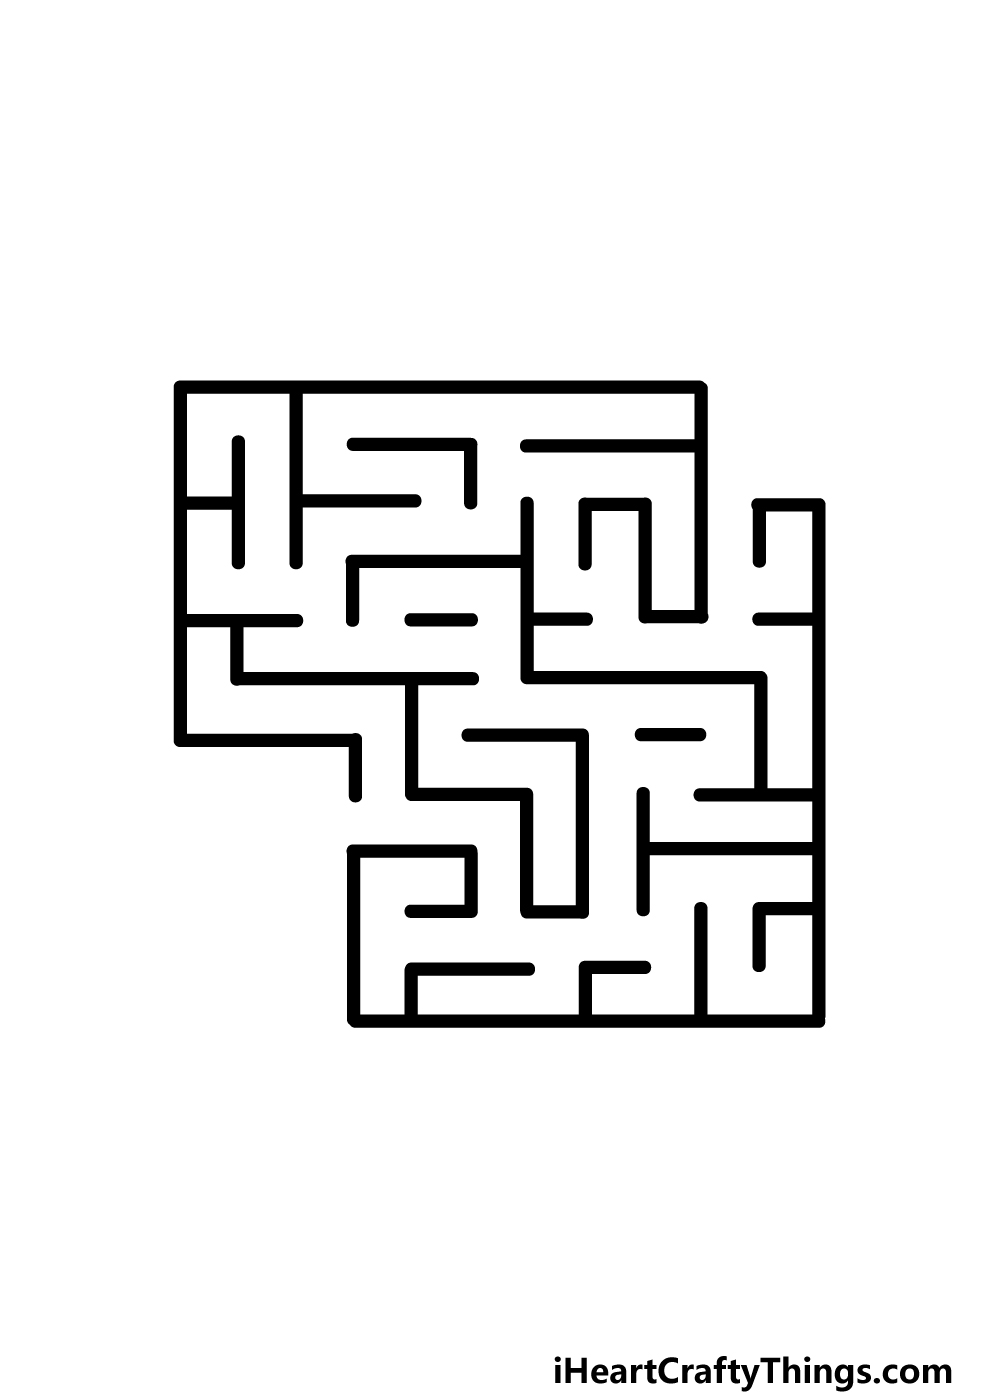
Now, it's time to finish off the twists of the maze before we add some final details in the next step.
Simply keep on going as you have been to finish off the lines that make up the interior of the maze. Then you will be done with that aspect of this drawing!
Just be sure that you left a path to the finish before you move on.
If you want to design your own maze variants, always remember to start with that path before doing the twists and turns of the maze. Then, we can add some final details in the next step, so let's move on!
Step 5 – Now, finish off your maze drawing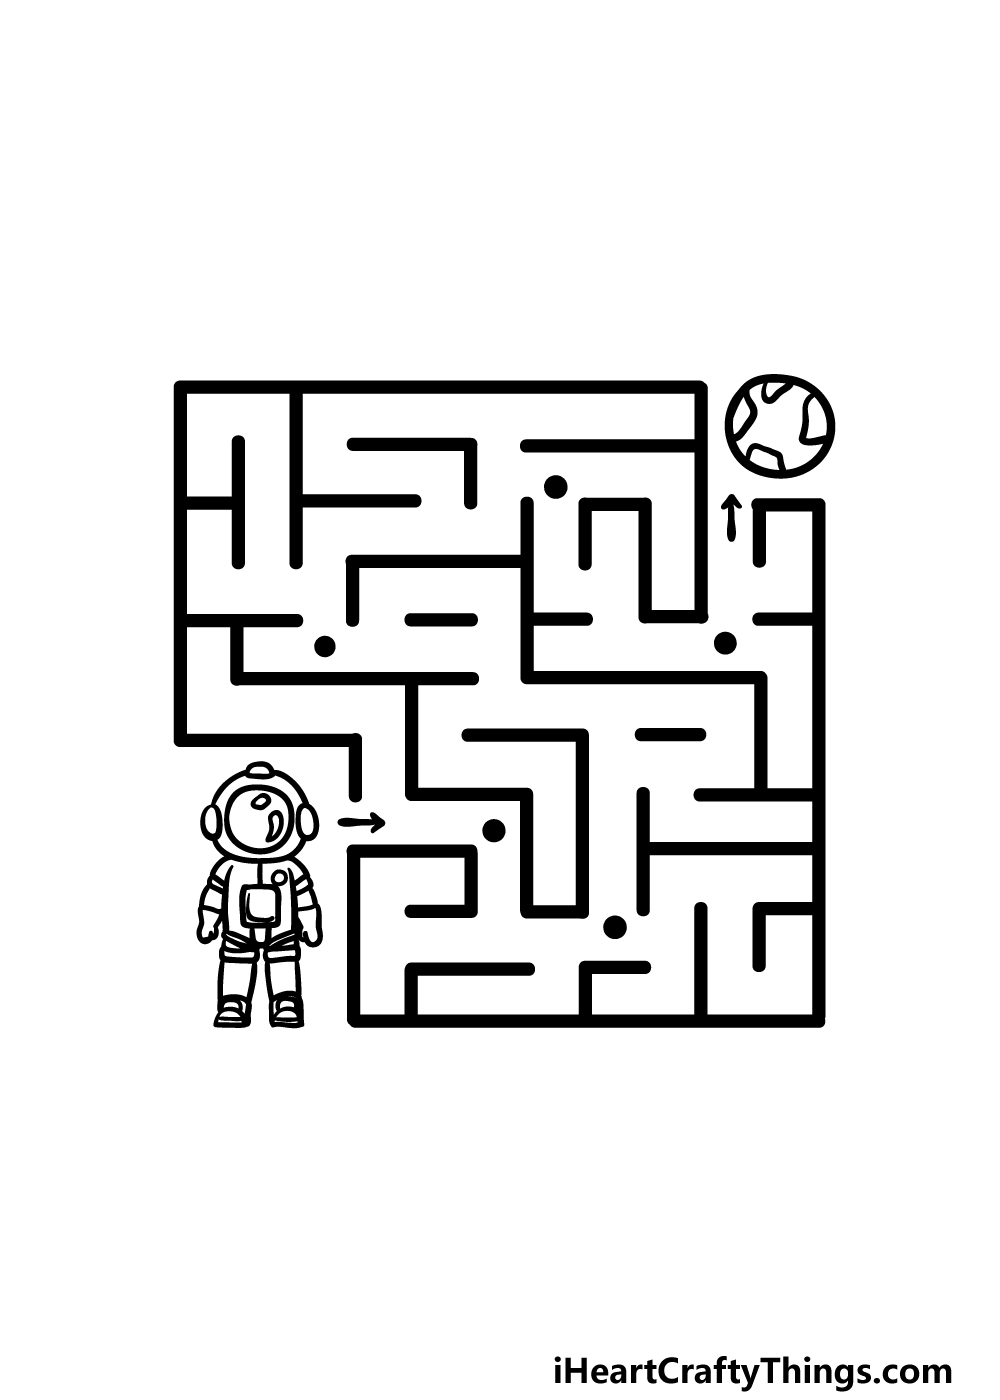
When creating a maze, it can be fun to add a theme to it to give it some more personality.
In this guide on how to draw a maze, we went with the theme of an astronaut navigating their way back to earth. To do this, we drew a cartoon astronaut at the beginning of the guide and then earth at the end.
Another touch you can do to make the maze easier is to replicate something we did in the guide which was to add some dots along the path to the end.
Not everyone likes their mazes to be super hard, so for a more laid-back experience you could add these dots. You can also leave them out if you prefer the maze to be more challenging!
You could also change up the theme of the maze as well. Maybe it can be a dog navigating its way to a bone or a ship finding its way to a port.
There are many fun ideas you could use, so what ideas do you have for potential maze themes?
Step 6 – Finish off your maze drawing with some color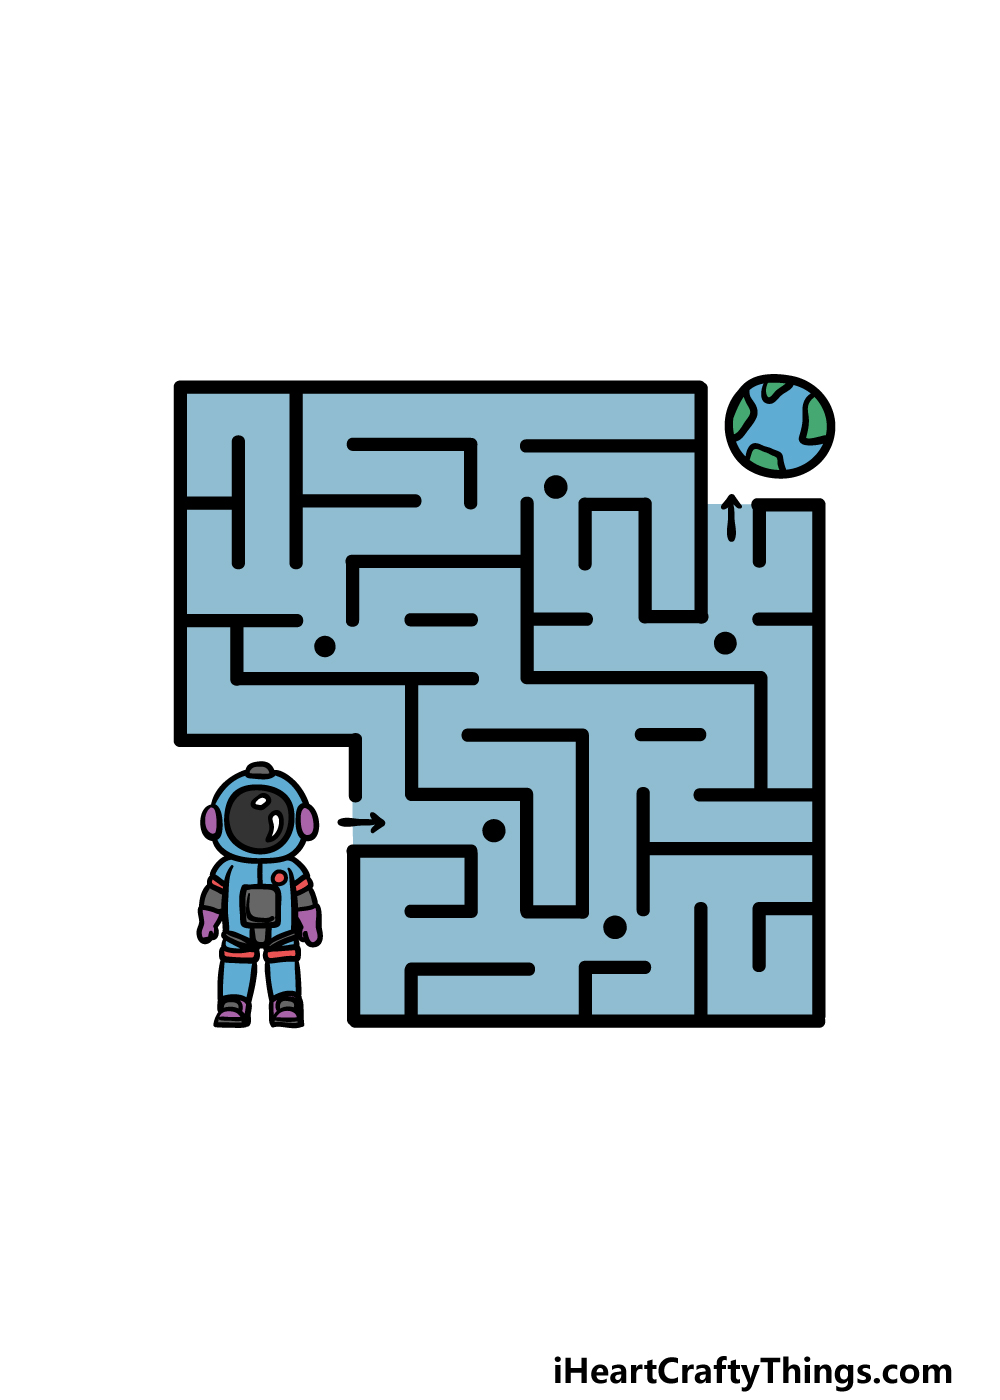
Now can close off this maze drawing tutorial by having some fun coloring in your twisty creation!
Our theme was centered around space, so we went with a pleasant blue color scheme to compliment this.
You could use any colors that you love in order to go with whatever theme you may end up choosing, though!
When you color in, just be sure to not obscure the lines of the maze. One way to avoid this would be to draw over the lines using a dark pen once you have collared it in.
Using lighter mediums such as watercolors can also help to make sure that the lines of the maze don't get drowned out.
Your Maze Drawing is Complete!
That brings you to the close of this guide on how to draw a maze! We hope that this guide made it easy and fun for you to learn how to replicate one of these twisty challenges.
Now that you have mastered this guide, you can use what you learned to create an infinite amount of maze variations!
You can make them as big or small as you please, and you can also make them as easy or difficult as you want as well.
Then, you can also play around with different themes and color schemes to really put your own spin on it.
This guide you have completed is one of many we have on our website! Be sure to visit us there often to catch the new guides that we upload often.
Once your maze drawing is complete, we hope to see how you finished it off! You can let us have a look by sharing it on our Facebook and Pinterest pages.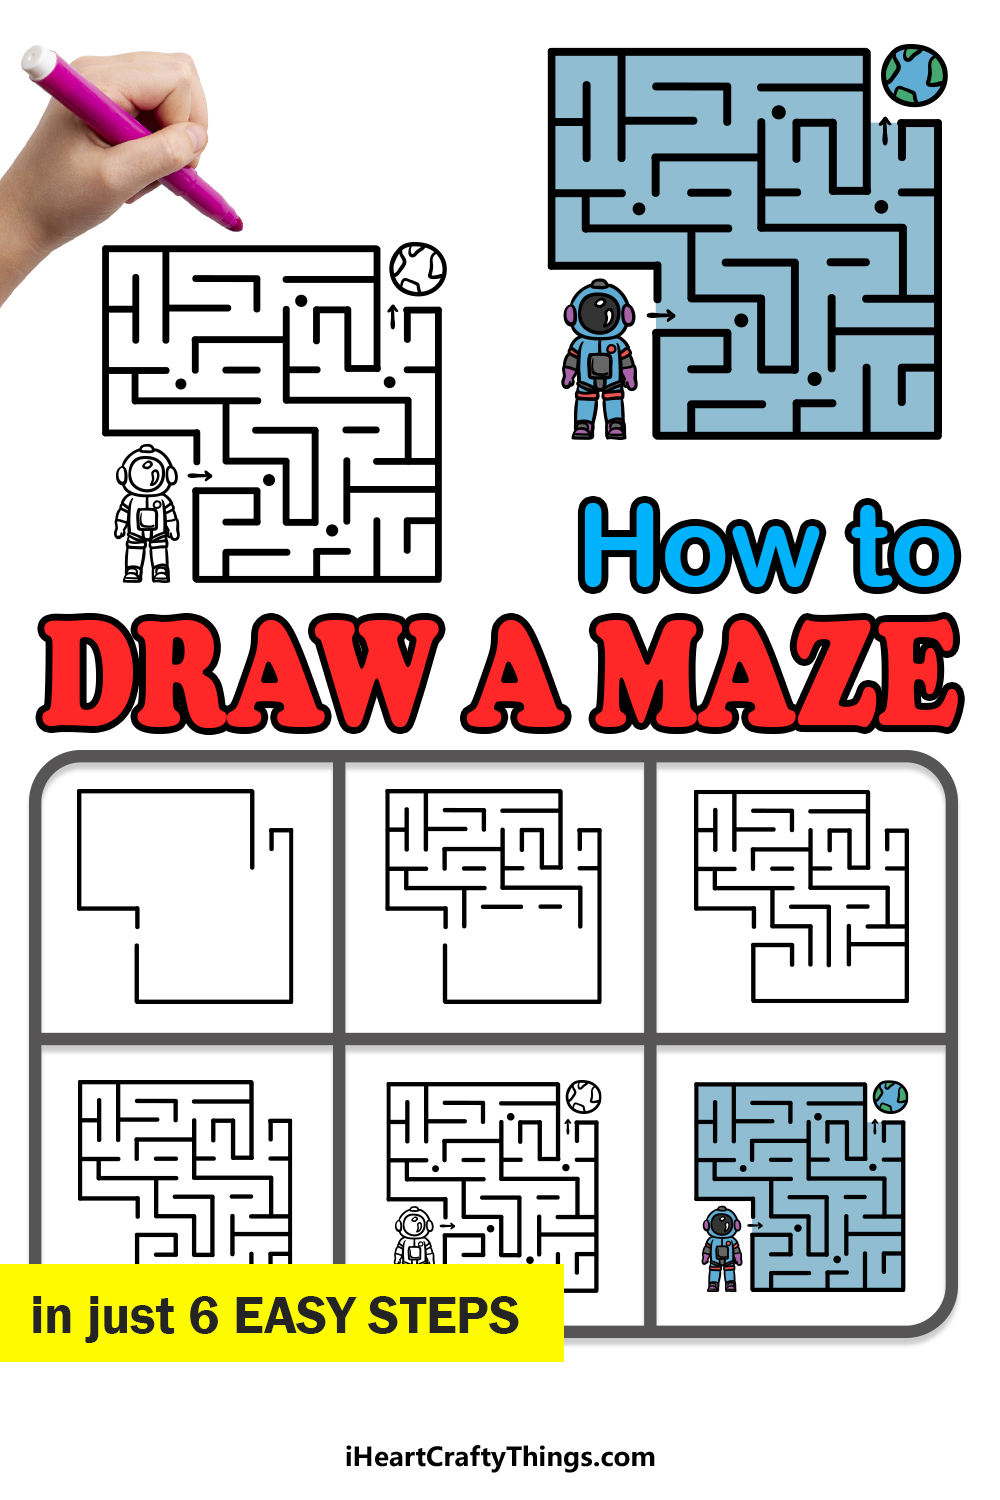
man in the maze drawing
Source: https://iheartcraftythings.com/maze-drawing.html
Posted by: richardswhishour.blogspot.com
0 Response to "man in the maze drawing"
Post a Comment