How Do You Draw A Turkey Step By Step
The turkey is a large bird with two species: the wild turkey of eastern and central North America and the ocellated turkey of the Yucatán Peninsula in Mexico.
The turkey we often see is called the common turkey, a native game bird that has been widely domesticated for consumption.
The peculiar appearance of turkeys have created a huge demand for a free turkey drawing tutorial.
So, we have curated a step-by-step tutorial on how to draw a turkey, summed up in 9 easy instructions paired with simple illustrations.
Have fun and unleash your creative potential!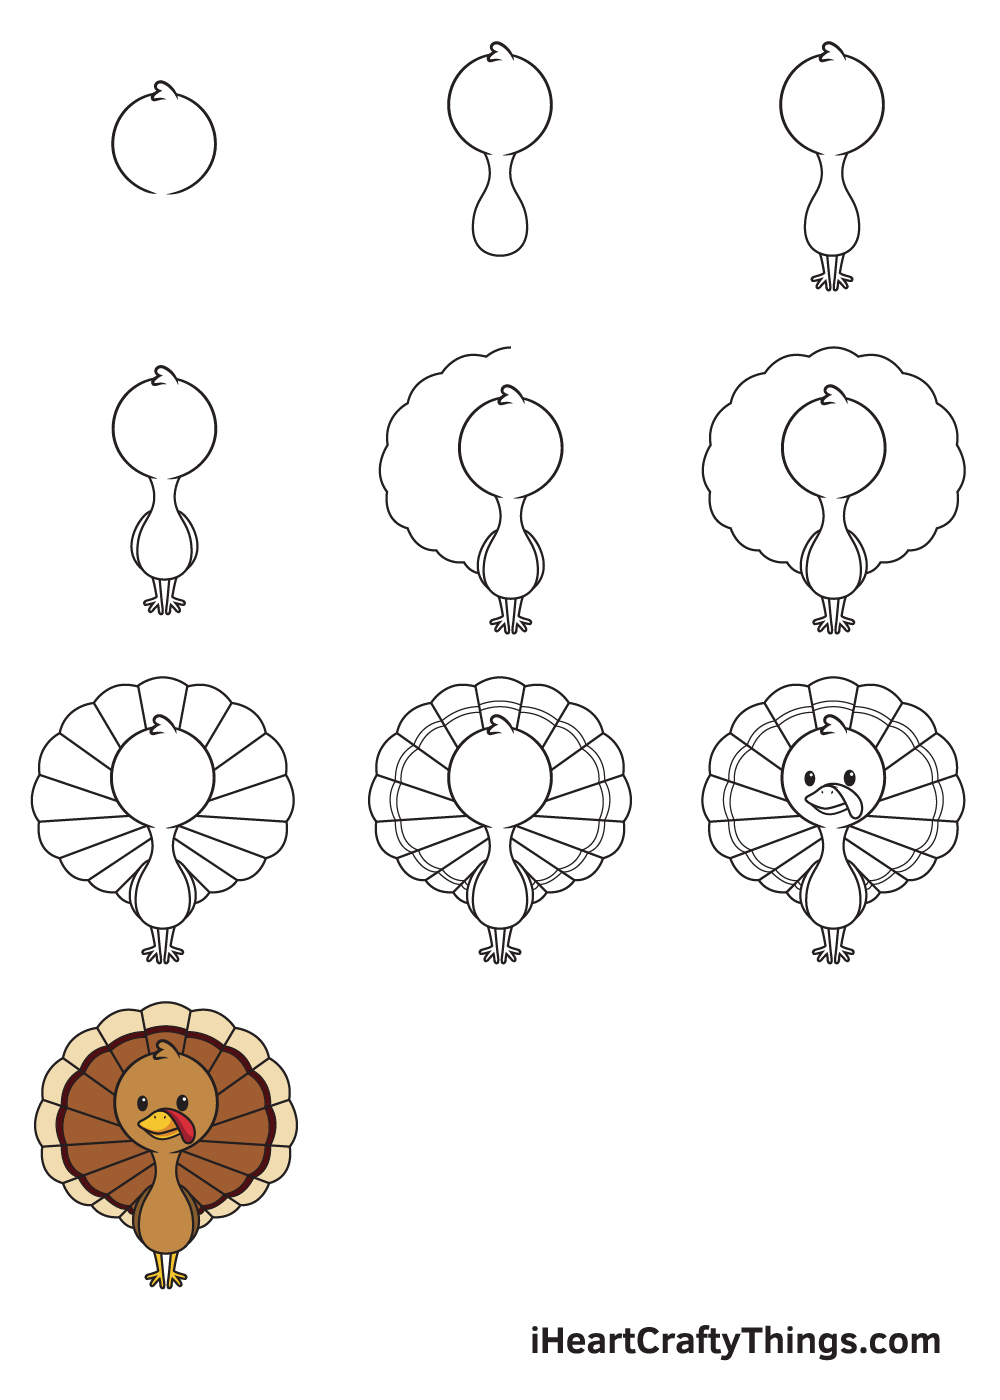
What's in this Blog Post
- How to Draw a Turkey — Let's get started!
- Step 1
- Step 2 — Outline the Turkey's Head and Body
- Step 3 — Next, Draw Both Legs of the Turkey
- Step 4 — Then, Draw the Wings of the Turkey
- Step 5 — Afterwards, Draw Half of the Feathers
- Step 6 — Now, Complete the Outline of the Feathers
- Step 7 — Add Details on the Fanned Out Feathers
- Step 8 — Afterwards, Add More Details on the Feathers
- Step 9 — Now, Draw the Facial Features of the Turkey
- Your Turkey Drawing is Complete!
How to Draw a Turkey — Let's get started!
Step 1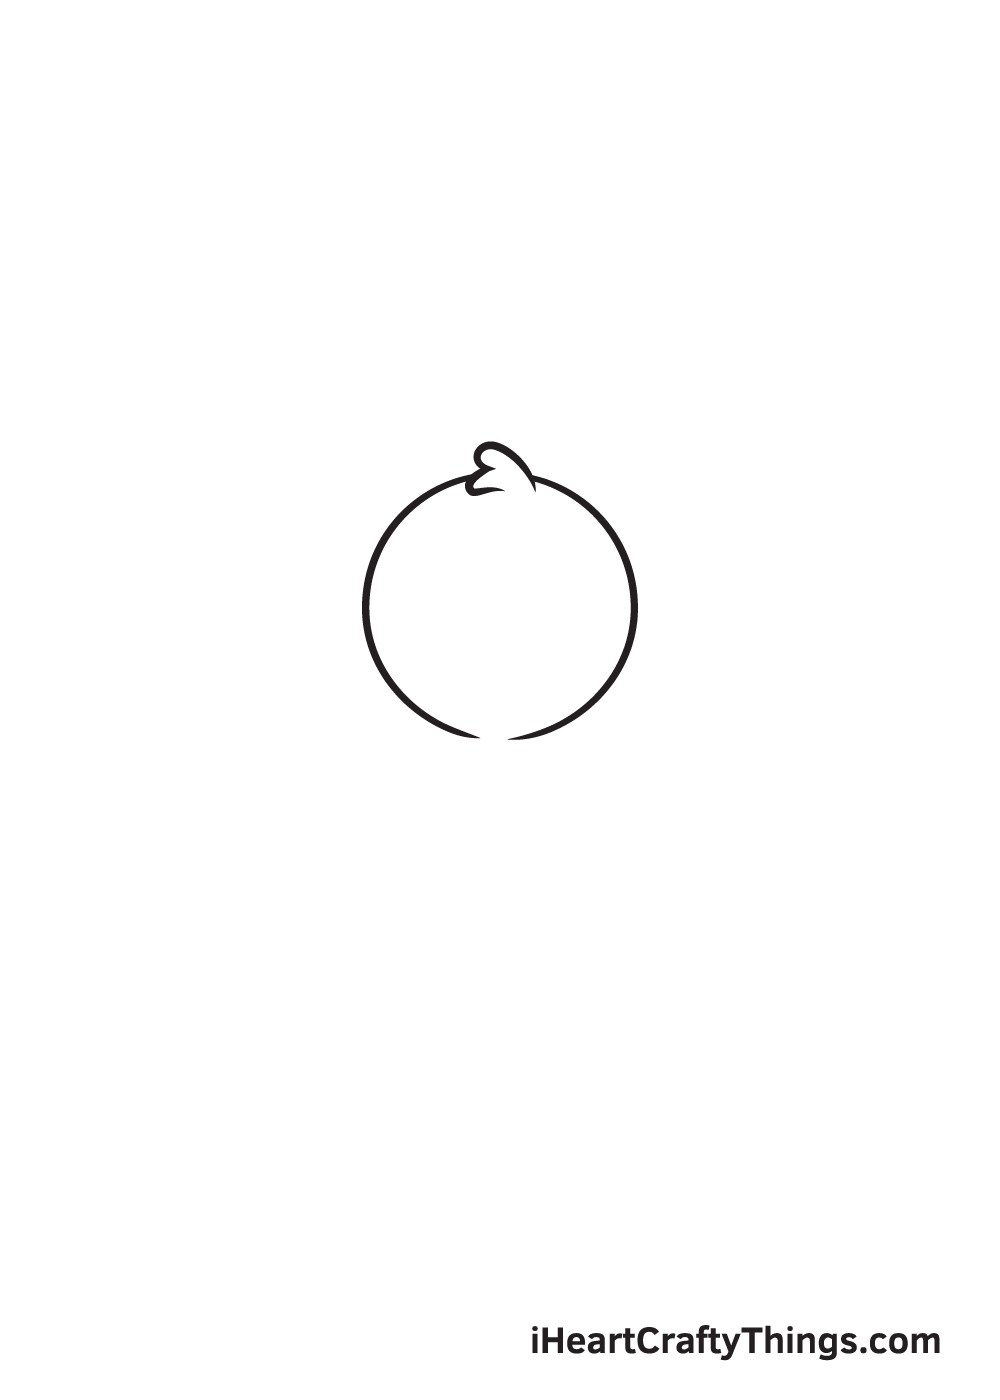
Begin by sketching a perfect circle just slightly above the middle of your paper. Then, draw a tilted and curved W-shaped line to create a feathery texture at the top of the head.
Remember, draw with light strokes when creating outlines and rough sketches. This is to ensure that you can easily get rid of any lines from the outline that you no longer need later on. This also helps keep your drawing refined and neat.
Step 2 — Outline the Turkey's Head and Body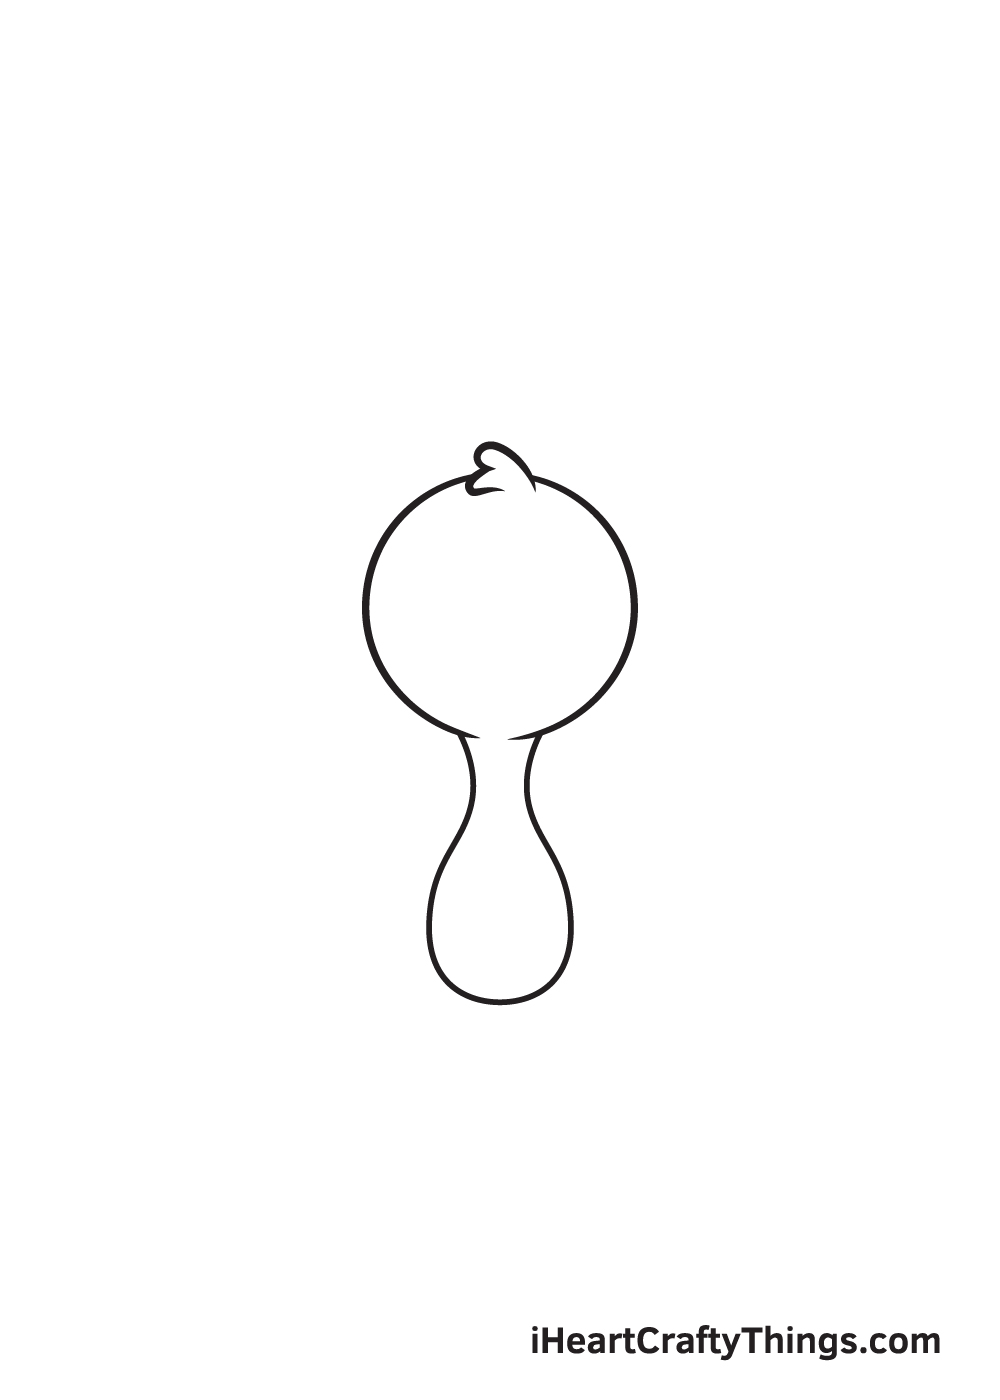
Right underneath the turkey's head, draw an elongated shape with a narrow upper part and wider bottom to create the body.
Keep in mind that the bottom part of the turkey's body should be round, as shown in the illustration above.
When drawn correctly, the shape of the body should look quite similar to a vase.
Step 3 — Next, Draw Both Legs of the Turkey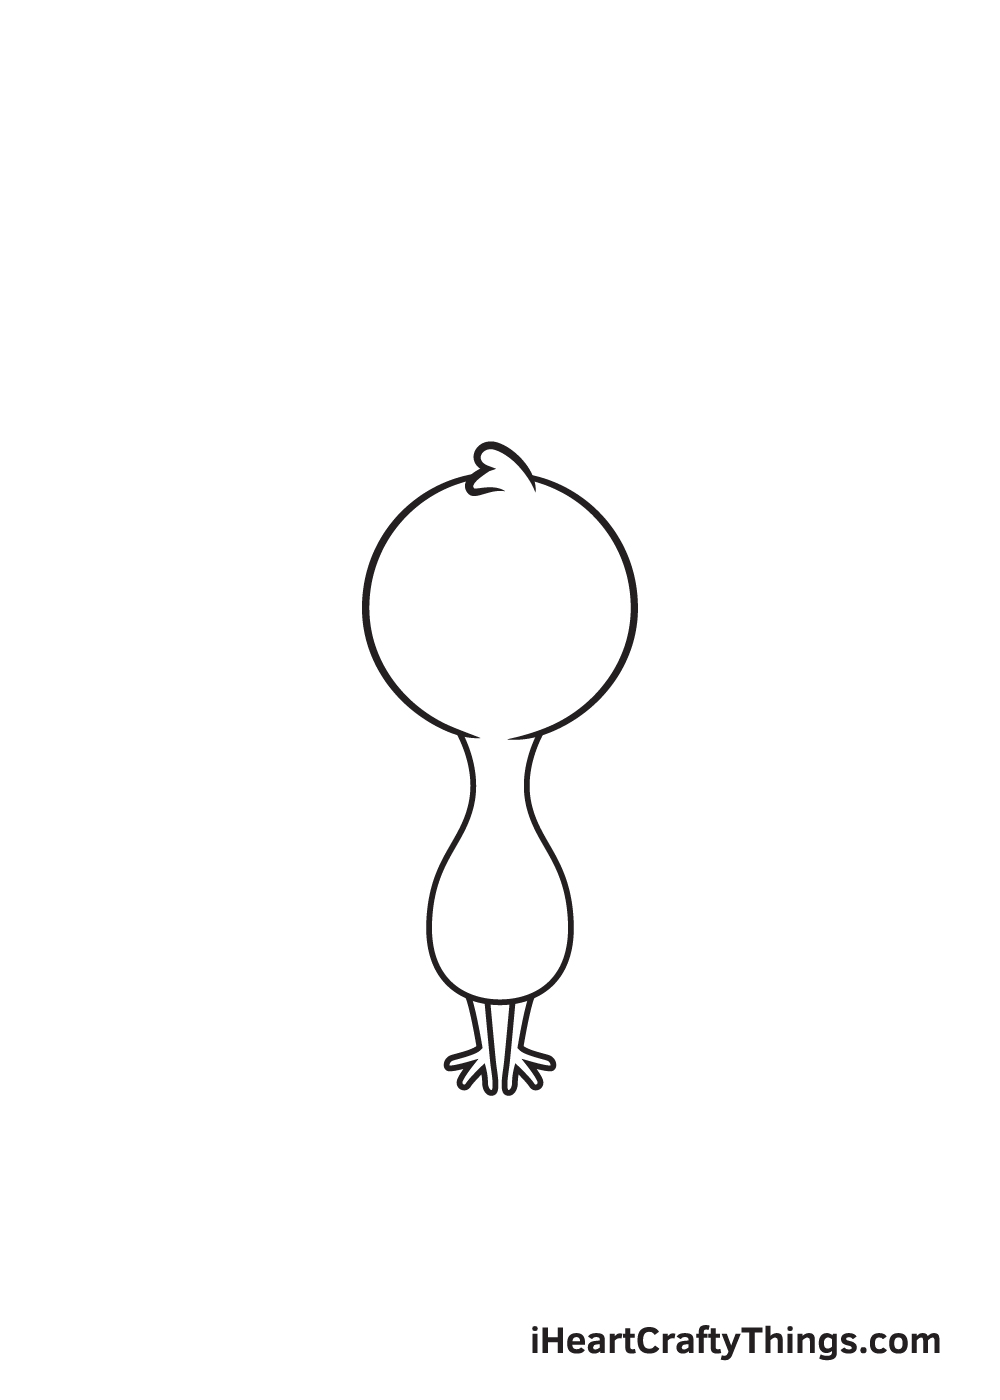
Draw thin legs side by side underneath the body of the turkey. Don't forget to add a foot with three claws at the bottom of each leg.
Try to make the legs and the feet of the turkey ` identical as much as possible.
Step 4 — Then, Draw the Wings of the Turkey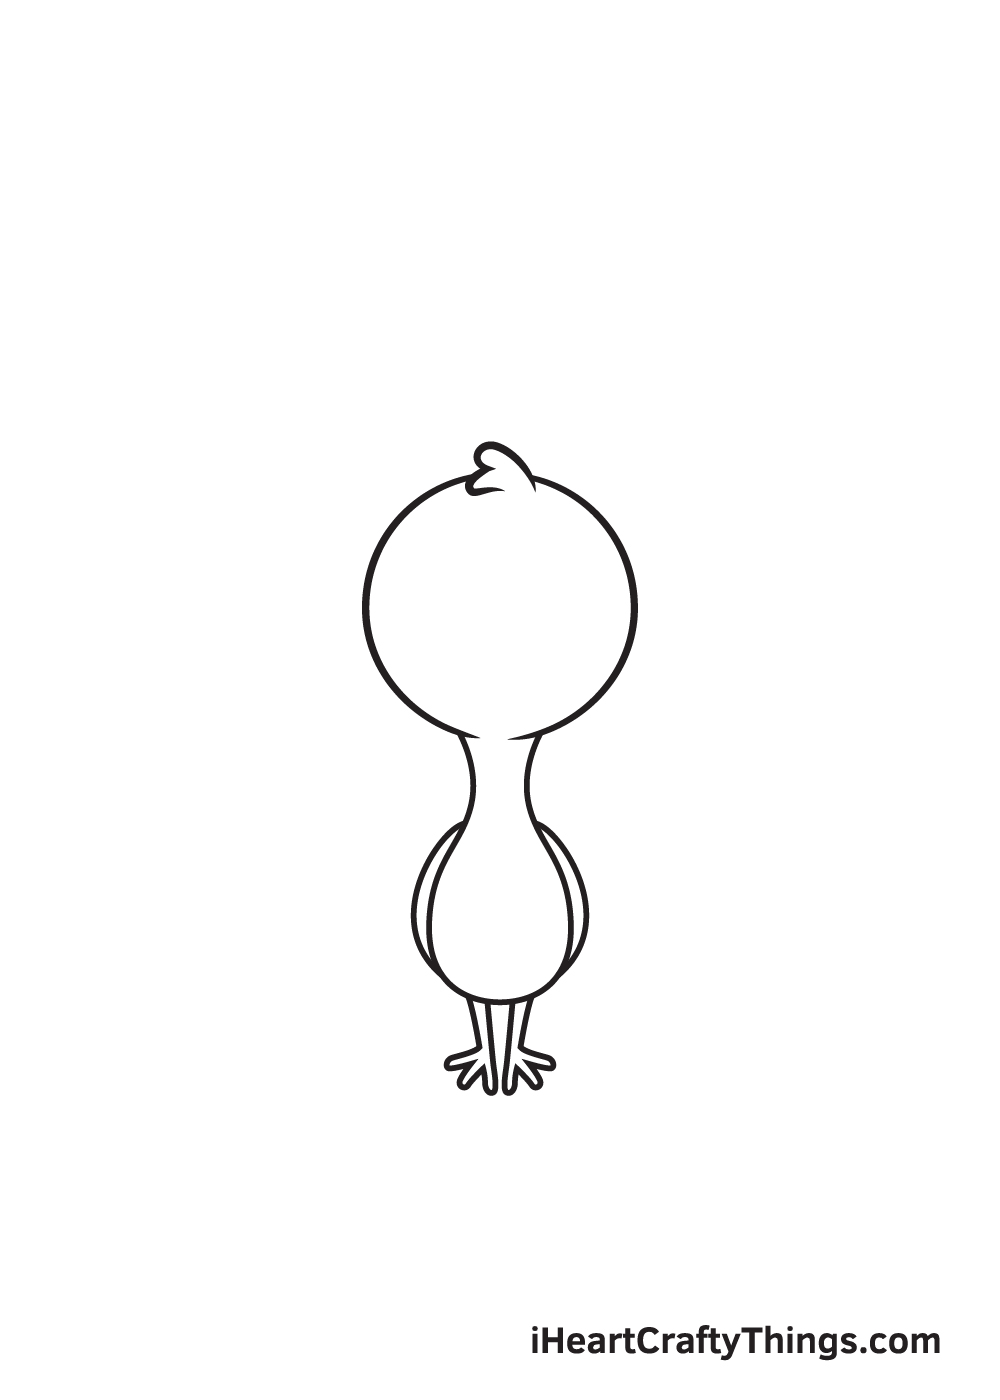
Enclose a curved line on each side of the turkey's body.
The curved line should follow the outline of the turkey's body, creating the appearance of a pair of wings perfectly still on the sides of its body.
Step 5 — Afterwards, Draw Half of the Feathers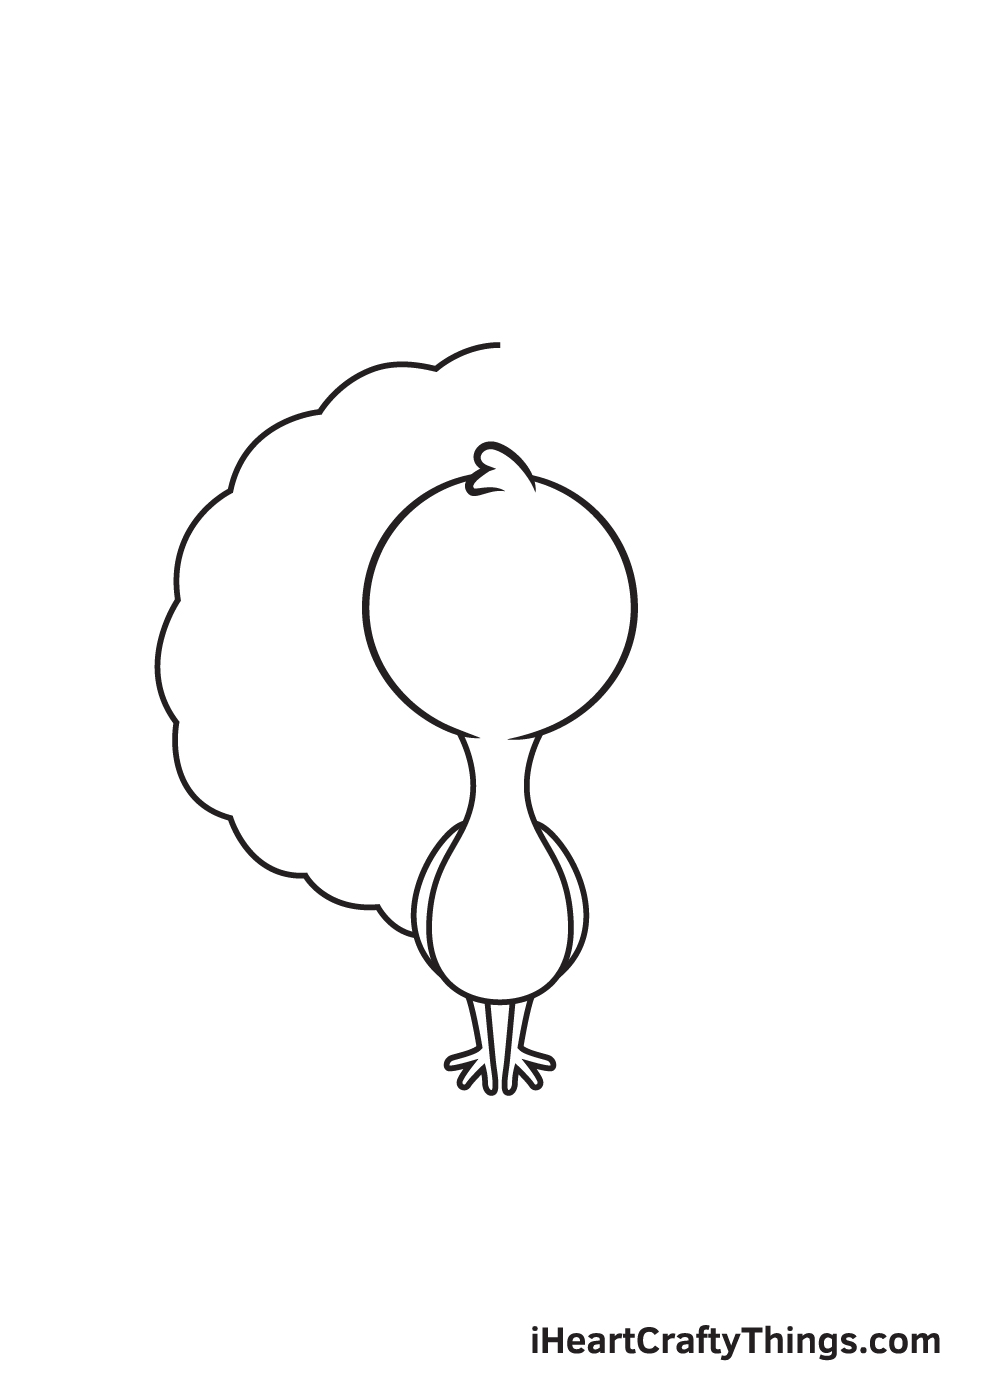
Now, it's time to draw the most distinct physical features of the turkey, which is the feathers on its back!
It looks especially beautiful when it's spread apart, so that's exactly what we'll be drawing in this step.
Draw a scalloped line beginning from the left side of the turkey's body extending all the way up to the top of its head. This forms the outline of the feathers halfway through.
Step 6 — Now, Complete the Outline of the Feathers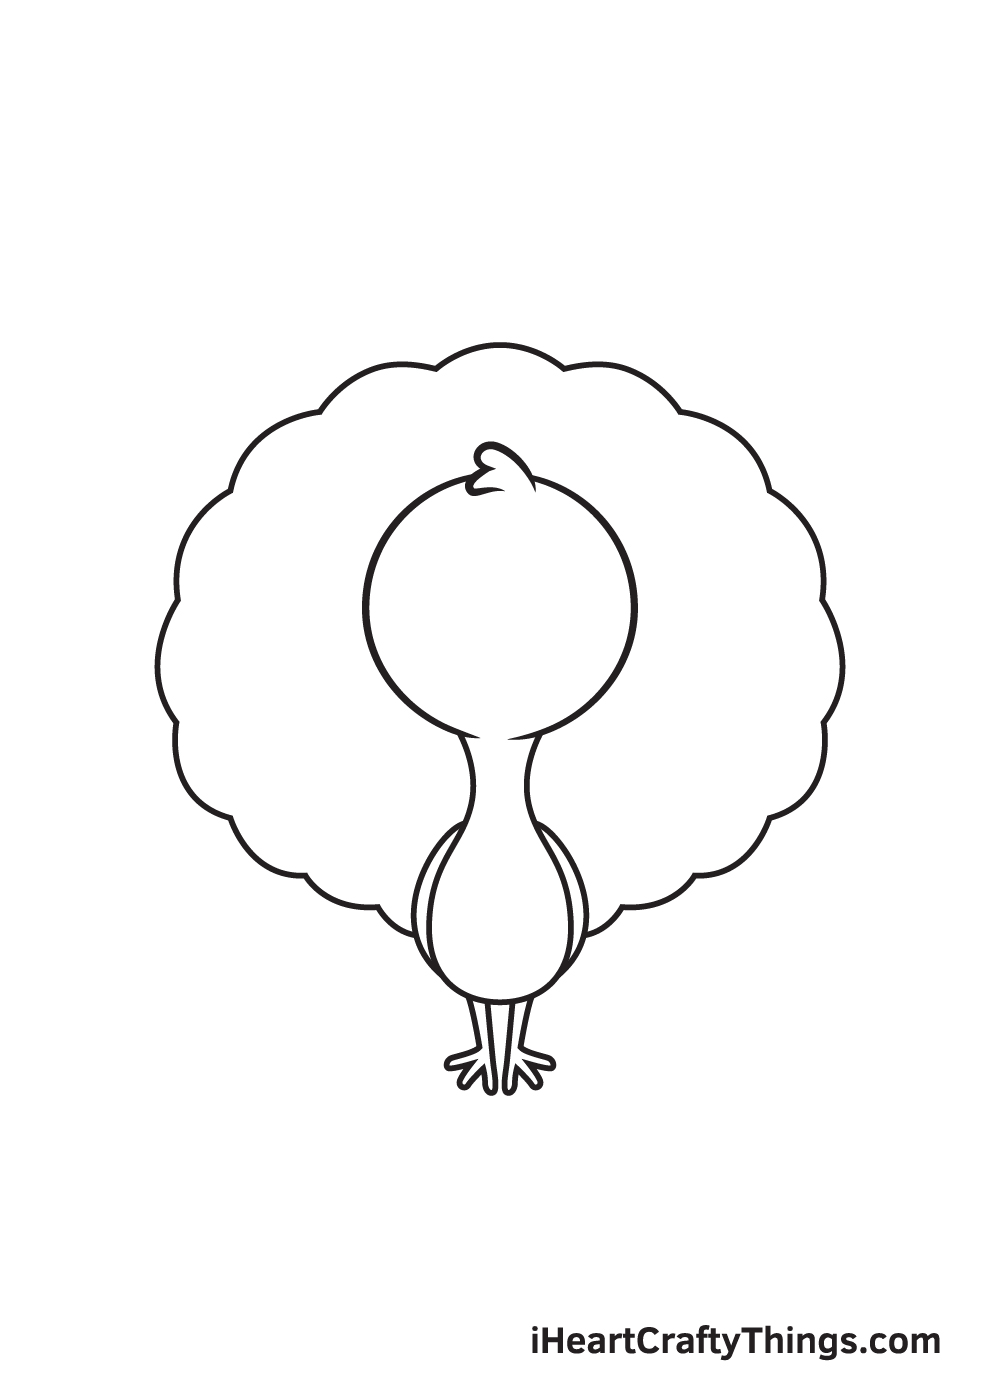
Repeat the previous step until the outline of the feathers is forming a full round shape, as shown in the illustration above.
The figure should go from one side of the turkey's body all the way to the other side, encompassing the upper part of the turkey's entire body.
At this point, the outline of the fanned out feathers is complete.
Step 7 — Add Details on the Fanned Out Feathers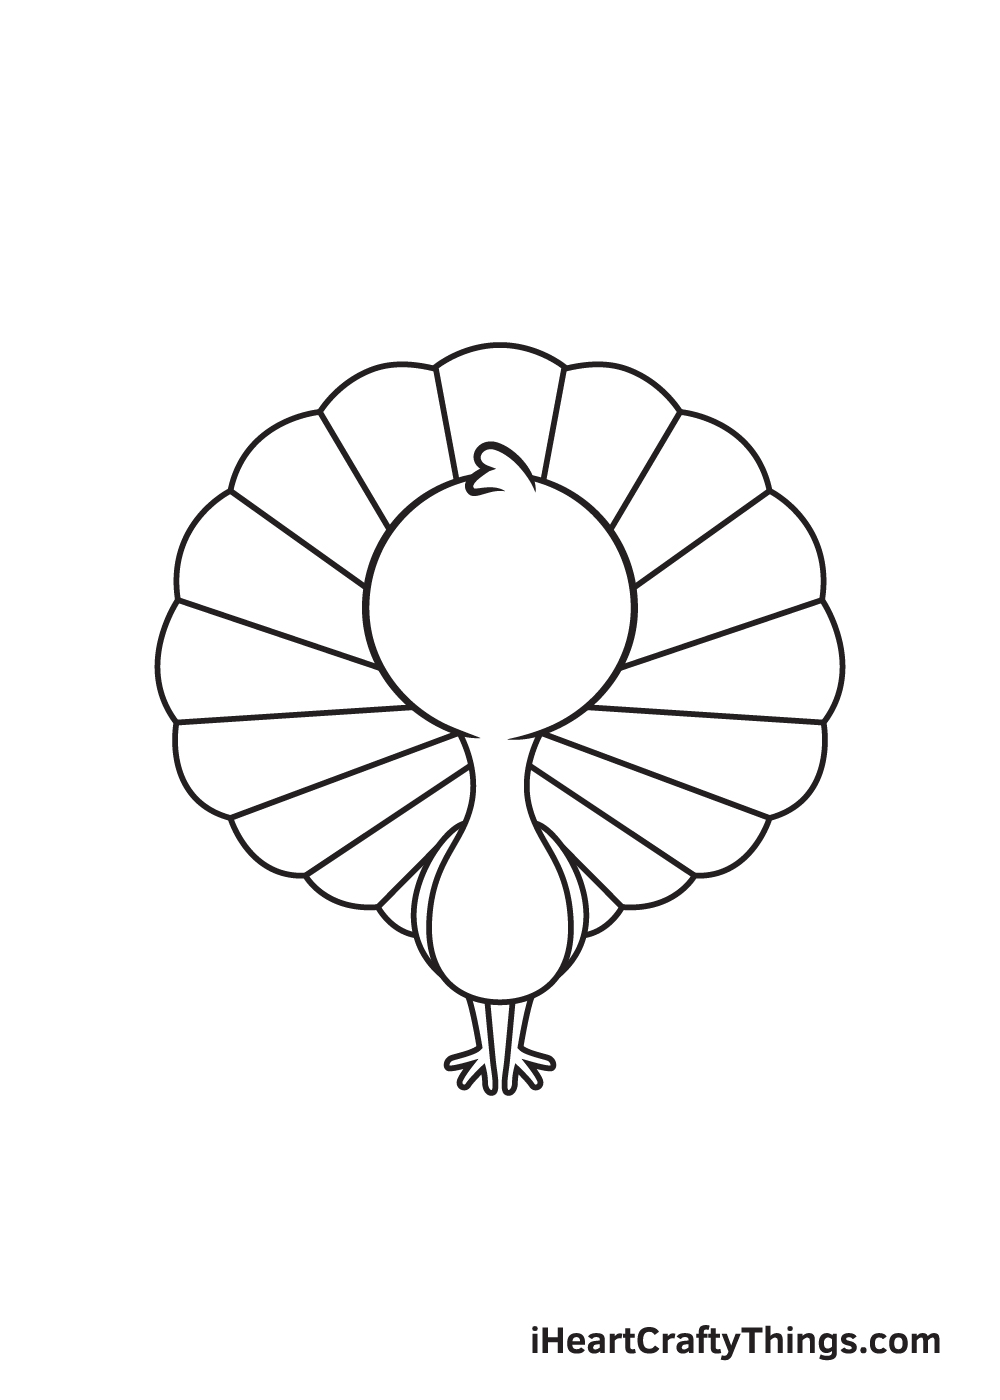
Draw multiple straight lines emerging from the center up to each pointed end of the outline that we drew in the previous step.
Keep in mind that all lines must follow the structure of the outline.
Step 8 — Afterwards, Add More Details on the Feathers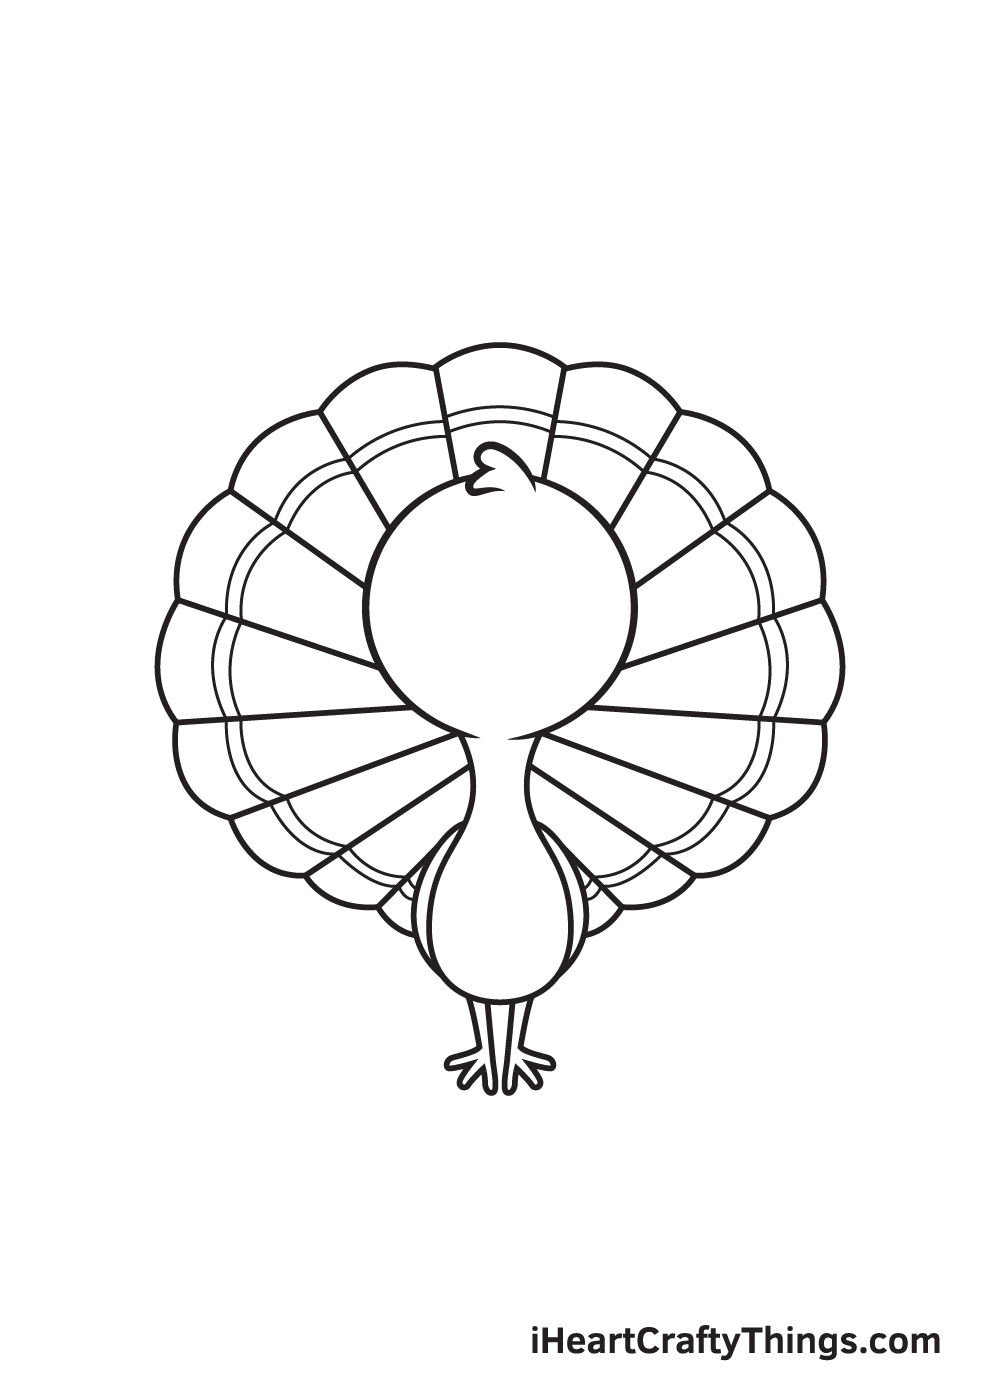
Draw two parallel figures within the outline following its original shape. Similar to the outline we drew previously, the figure should surround the entire upper part of the turkey's head and body.
There should be a slight gap in between the edge of the feathers and this figure, as shown in the illustration above.
Step 9 — Now, Draw the Facial Features of the Turkey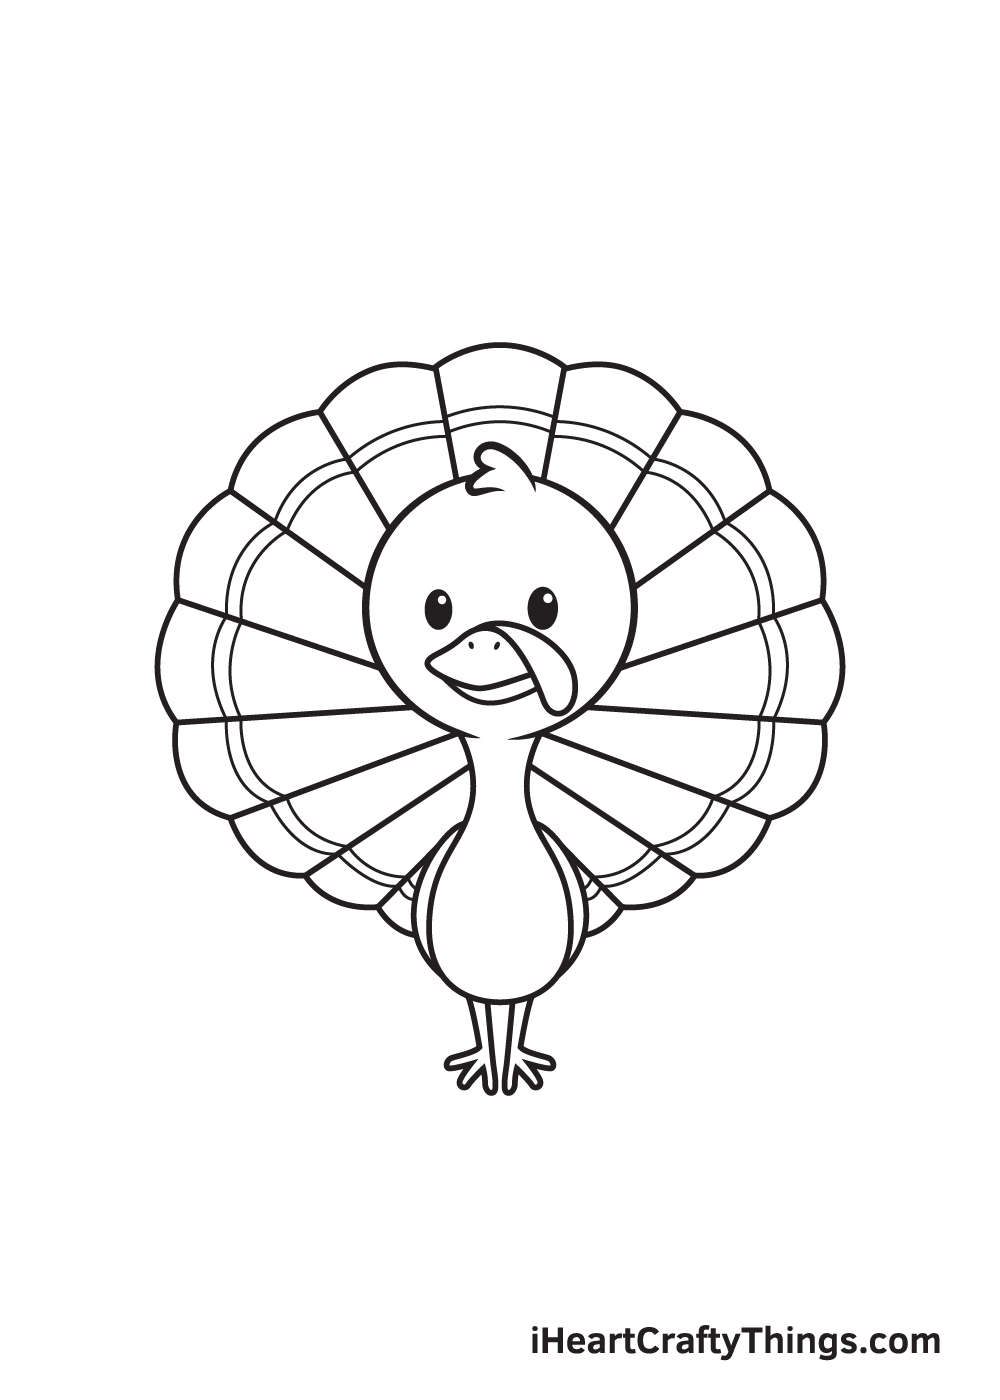
Finalize your artwork by drawing the features on the turkey's face.
Proceed by drawing two standing oval shapes inside the turkey's face to outline the eyes. Then, draw two small circles within each eye.
Now, shade the entire eyes except for the tiny circles inside. This adds a dramatic effect and makes the eyes look like it's sparkling!
For the beak, simply draw an irregular rectangular shape with a small curve right underneath. Don't forget to add an elongated, curved figure at the top of the beak!
This forms the snood, which is one of the turkey's most distinct physical features!
Good job on successfully drawing a turkey! Now, we're finally in the most exciting step, which is coloring the turkey!
Though the colors of turkeys widely vary, white is typically the dominant color accompanied with shades of black and dark grey especially on the back, wings, and tail feathers.
As you can see in the illustration above, we've kept the colors of the turkey plain and simple. We used different shades of brown to make the turkey colorful!
Feel free to use any color you like and color your turkey drawing however you like! Have fun playing with colors and watch as the turkey ultimately comes to life!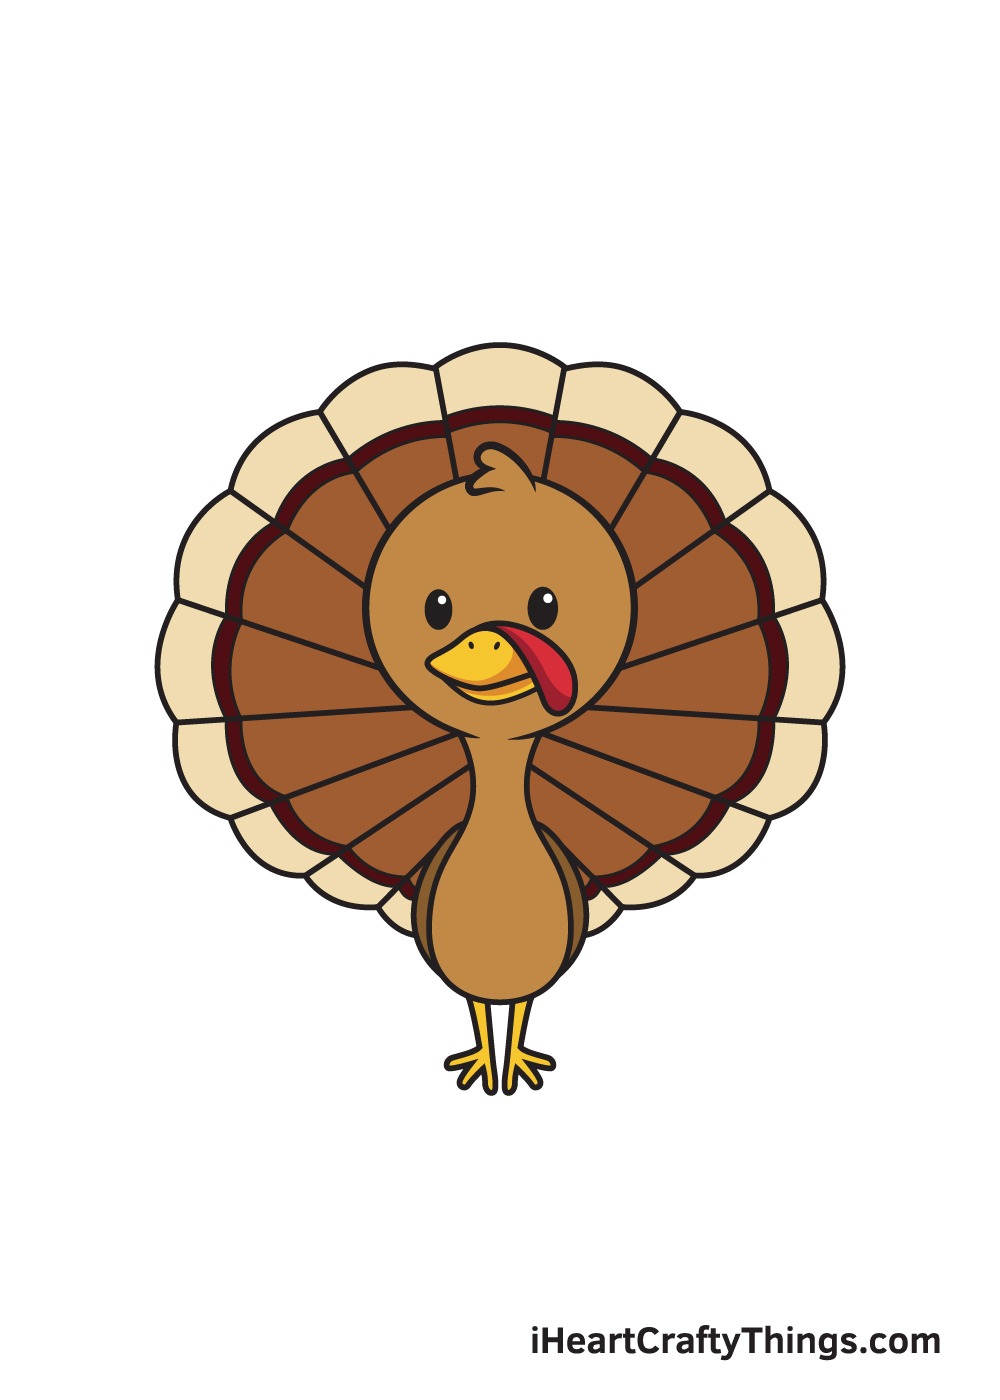
Your Turkey Drawing is Complete!
We hope you had a fun drawing activity with this step-by-step turkey drawing tutorial! If you enjoyed drawing a turkey, then you might also be interested in drawing other kinds of birds.
Check out our "How to Draw" catalog to explore drawing tutorials on a wide range of birds including a peacock, hummingbird, and many more!
Drawing a turkey is an achievement, so you should feel proud of yourself for completing a masterpiece!
Celebrate your accomplishment by sharing your artwork on our Facebook page and on Pinterest.
Don't be embarrassed! You've worked tirelessly for your drawing, so we can already tell that it looks impressive for sure!
We would love to see your colorful turkey drawing!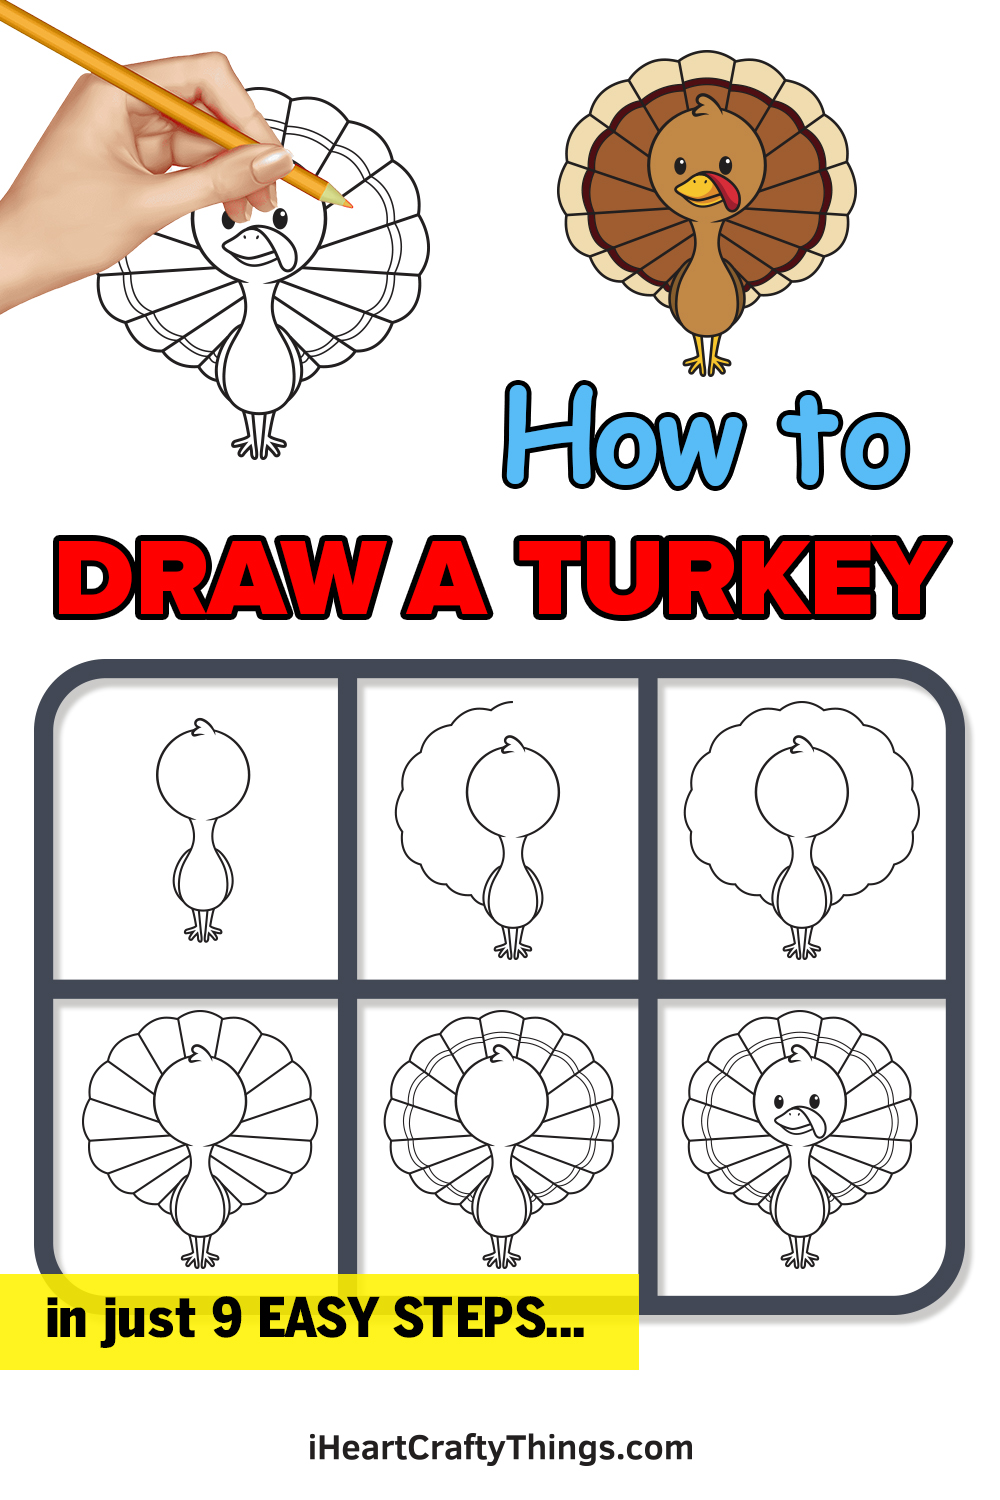
How Do You Draw A Turkey Step By Step
Source: https://iheartcraftythings.com/turkey-drawing-2.html
Posted by: richardswhishour.blogspot.com

0 Response to "How Do You Draw A Turkey Step By Step"
Post a Comment