How To Create Powerpoint Background Graphics
Sometimes we want to create a PPT template from scratch using our own custom images, for example if you have your company visual identity and the designer provides you the slide designs as a JPG image (for the cover slide, the internal slide and any other custom slide layout).
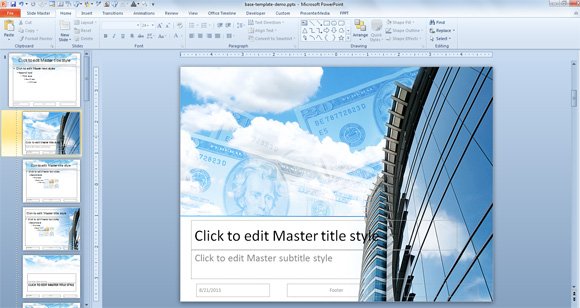
Here we will see how to prepare a simple PowerPoint template using custom background images in a few simple steps.
First, we will start a new presentation. You can choose the Design -> Page Layout to adjust the desired resolution, for example you can choose the 4:3 resolution that was widely used for long time for PowerPoint presentations, or a modern 16:9 aspect ratio for your presentations with a widescreen style. Make sure you choose the proper aspect ratio based on the background images you have.
Then, go to View -> Slide Master and here you will see the Master layout and the other layouts for the presentation. Assuming we have three different slide backgrounds (for the cover slide, the internal slide with title on top, and another secondary internal slide with vertical sidebar) what we will do to make a custom PowerPoint template is:
- Setup the internal slide as a background for the master layout
- Setup the background for the cover slide layout
- Duplicate the title+content layout and then setup the background with vertical sidebar
The figure below illustrates what are the key layouts we will change background for the PowerPoint presentation. This view is taken from PowerPoint 2010 but it is very similar in PowerPoint 2007 and PowerPoint 2013.
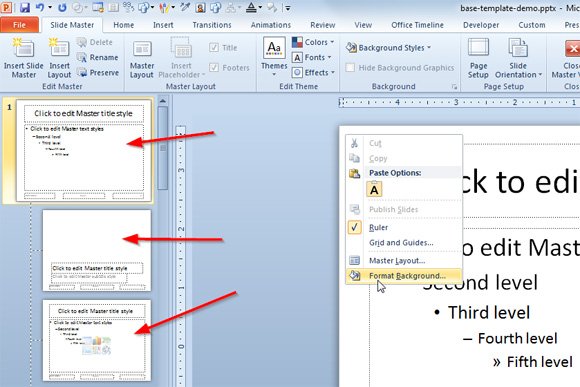
Having the files in our local file system, first we go to the Master slide layout and configure the default background for the slides. In our case, we will use the layout design with a white background and top cloud with bills and money.
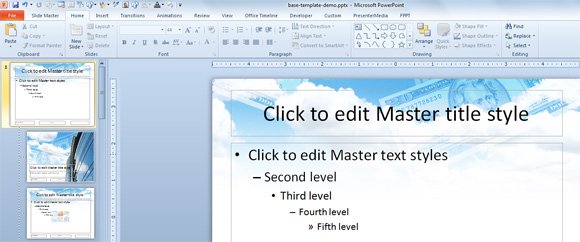
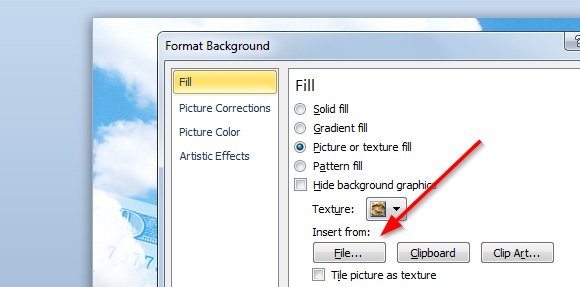
Then we are ready to change the cover slide so we move to the second thumbnail in the list and then select the Format Background options and then Fill the background with the image/picture.
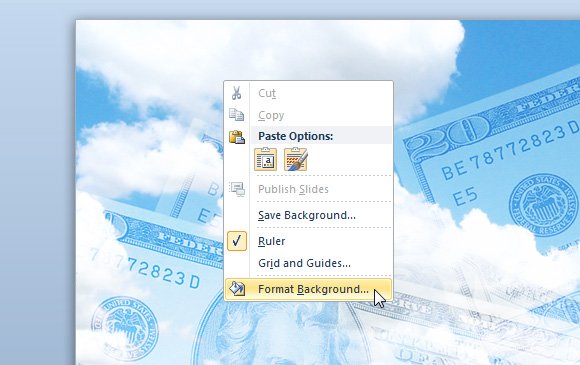
Then we choose Fill -> Picture or texture fill and then Insert from File.
Here is an example showing the cover slide design once it is inserted in the layout.

Now we can duplicate one of the slide layouts and create another variant with the vertical sidebar. We will change the background for this layout in PowerPoint and choose the other slide design we have created.
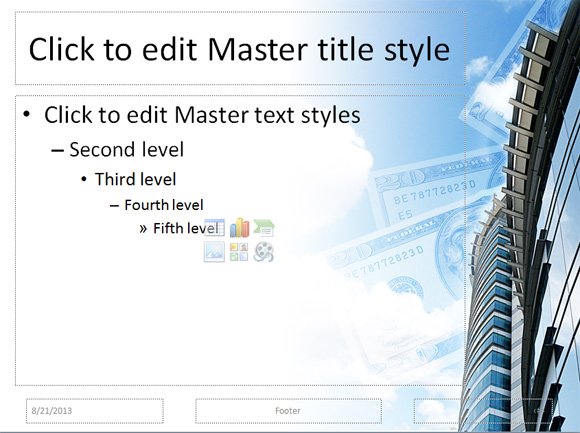
Now we can close the Slide Master view and go to the Normal view. Here is where you prepare your final presentation. You can add more slides (with a blank template it will look with white background but now that we have configured the Master layout with a background the slide will be inserted with the pre-configured background). You can change the default layout and reset the layout to keep the same styles you have configured in the Slide Master view.
We hope this tutorial help you to create custom PowerPoint presentations with custom background images that you or any other designer can create in Photoshop and save as JPG or PNG format. Beyond this post you can do more things for example to insert the company logo in every slide design or you can change the footer and header of the PowerPoint presentations. Moreover, you can insert animations and effects in the master view so your final presentations have an animation.
How To Create Powerpoint Background Graphics
Source: https://www.free-power-point-templates.com/articles/how-to-create-a-powerpoint-template-using-a-jpg-image-background/
Posted by: richardswhishour.blogspot.com

0 Response to "How To Create Powerpoint Background Graphics"
Post a Comment