How To Draw A Tongue For Kids
The tongue is one of the most important parts of our mouth. It not only allows us to taste and break down food but is also essential for speech.
It can also be used to stick out at people as a sign of defiance, which may be its most important function!
While we each have a tongue and use it every day, it's something that can be taken for granted. You can actually make some really cool designs featuring it if you learn how to draw a tongue.
That's what we're here to do, and you will know how to do it as long as you follow all these steps we have for you!
We hope that you enjoy this step-by-step guide on how to draw a tongue in 6 easy steps.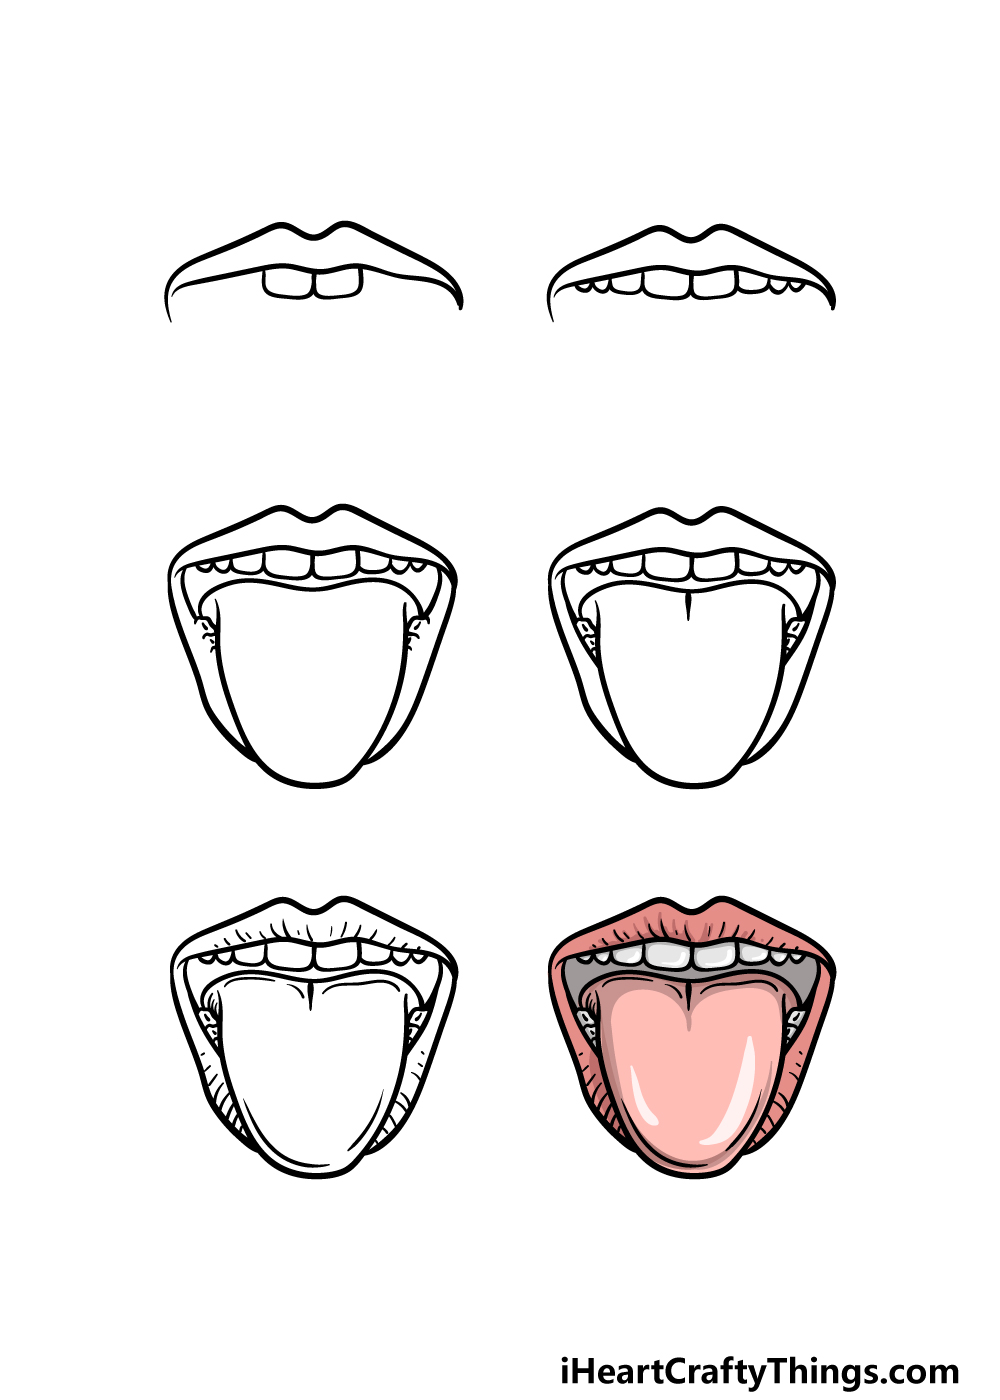
What's in this Blog Post
- How to Draw A Tongue – Let's Get Started!
- Step 1
- Step 2 – Now, draw some more teeth in the mouth
- Step 3 – Next, draw the bottom lip and the tongue
- Step 4 – Now, draw some details for the teeth and tongue
- Step 5 – Add the final details to the tongue drawing
- Step 6 – Finish off your tongue drawing with some color
- Your Tongue Drawing is Complete!
How to Draw A Tongue – Let's Get Started!
Step 1
We shall begin this guide on how to draw a tongue not with the tongue itself, but actually with the mouth surrounding it. We will get to the tongue soon, but by drawing the mouth we will create some context for it.
First, we will be drawing the top lip of the mouth. Use a wavy line for the top of the lip, and try to draw it with a bit of a dip in the middle.
Then, we will be using another curved line for the bottom of this top lip. Once that lip is complete, we will finish off this step by drawing some front teeth.
These will be drawn as some rounded square shapes next to one another. Then we will be ready for step 2!
Step 2 – Now, draw some more teeth in the mouth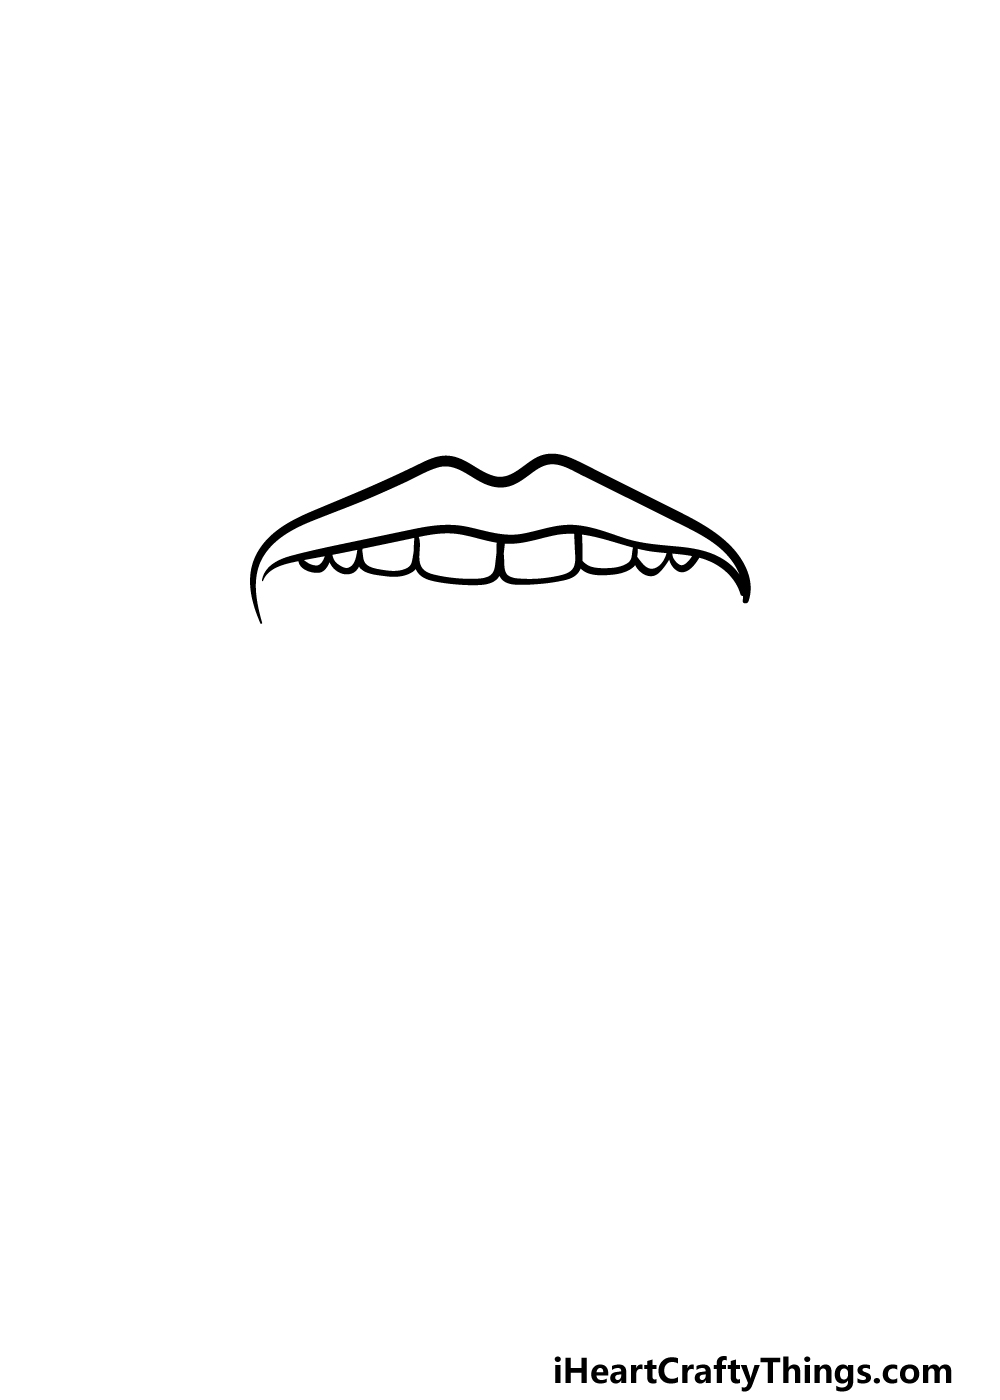
Next, we shall be drawing a few more teeth to the top of the mouth in this step of your tongue drawing.
To do this, we shall be adding three teeth on either side of the first two that you just drew. They will also get a bit smaller as they go. The two outer ones will also be a little bit pointier than the other ones.
That's all there is to it for this step, and then it's on to step 3.
Step 3 – Next, draw the bottom lip and the tongue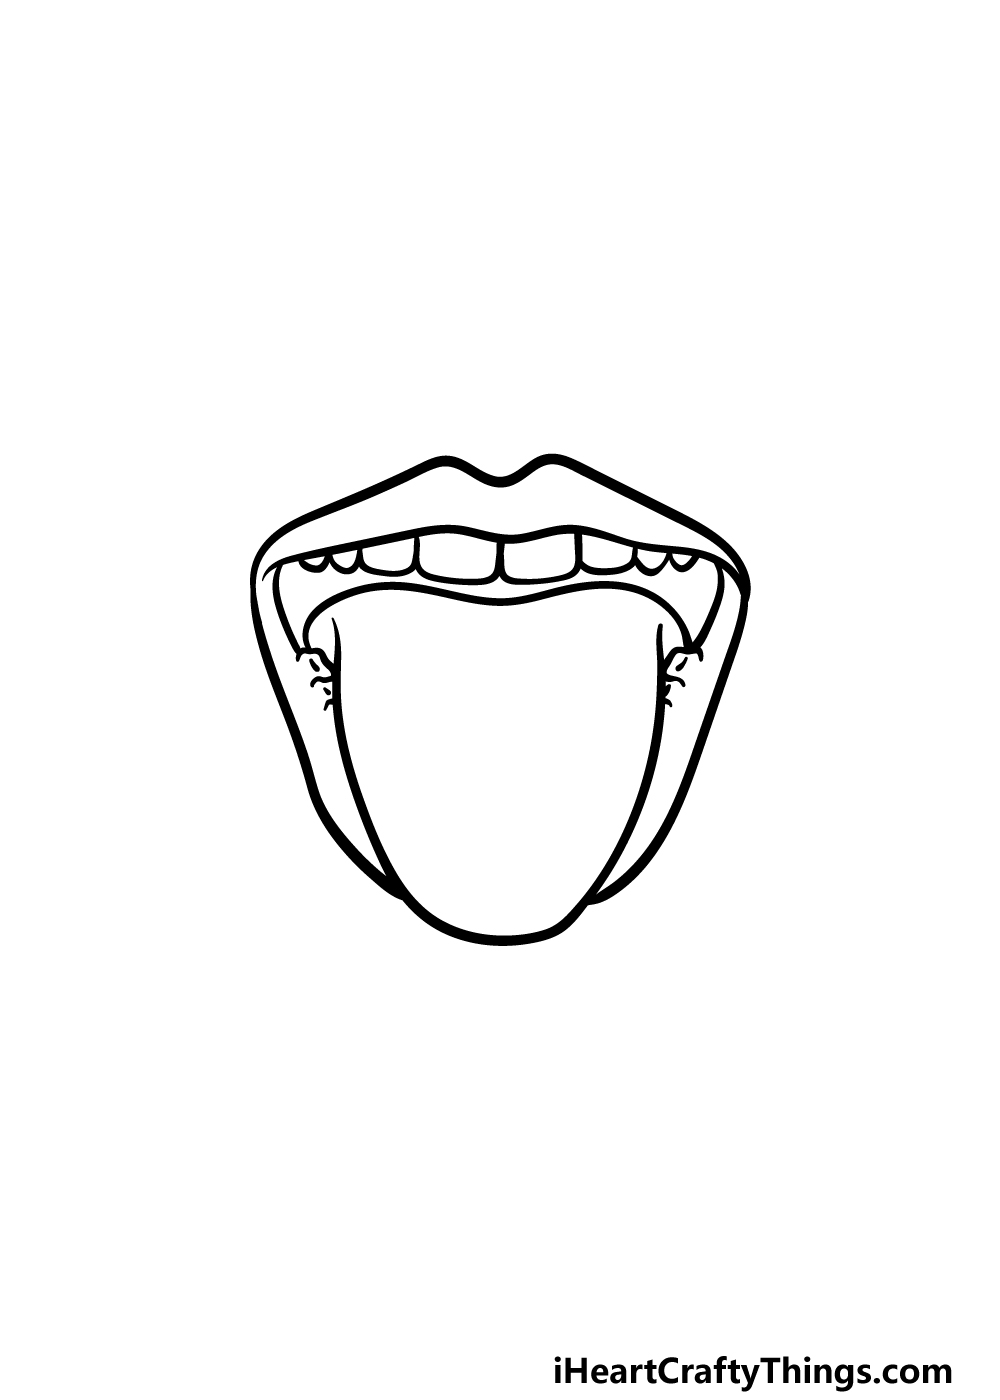
This step of our guide on how to draw a tongue will see you actually drawing the tongue itself! To start this, draw a sharply curved line starting and ending near each corner of the mouth.
This will arch downwards to show that the tongue is sticking out the mouth.
Then, draw a slightly curved, wavy line above it for the top of the tongue. Then we shall be drawing the bottom lip surrounding the tongue.
To do this, simply use some more curved lines to create the shape of this bottom lip. We will also be drawing some teeth close to where the tongue drops over the bottom lip. These teeth won't have much detail, but we will add some detail soon.
Step 4 – Now, draw some details for the teeth and tongue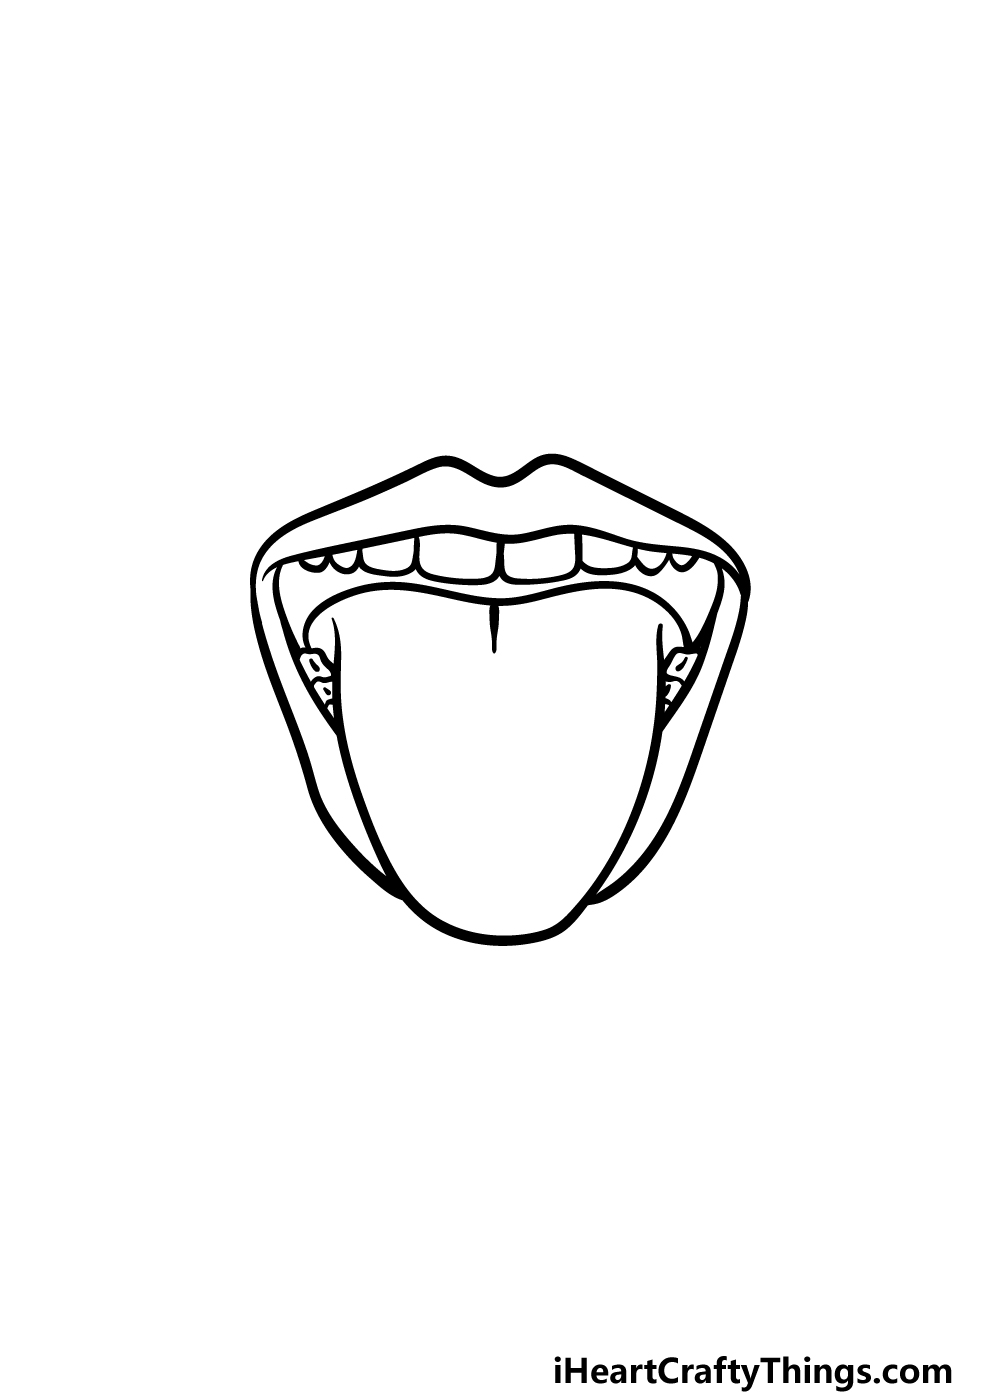
We will keep things pretty simple in this part of your tongue drawing! We shall be adding some fairly minor details to prepare you for the final touches in the next step.
First, draw a slightly curved line underneath the teeth that you started in the prior one. This will also extend to finish the edge of that bottom lip.
Finally, add another short line coming down from the center of the tongue dropping down over the bottom lip. Then it will be time for those final details that we mentioned!
Step 5 – Add the final details to the tongue drawing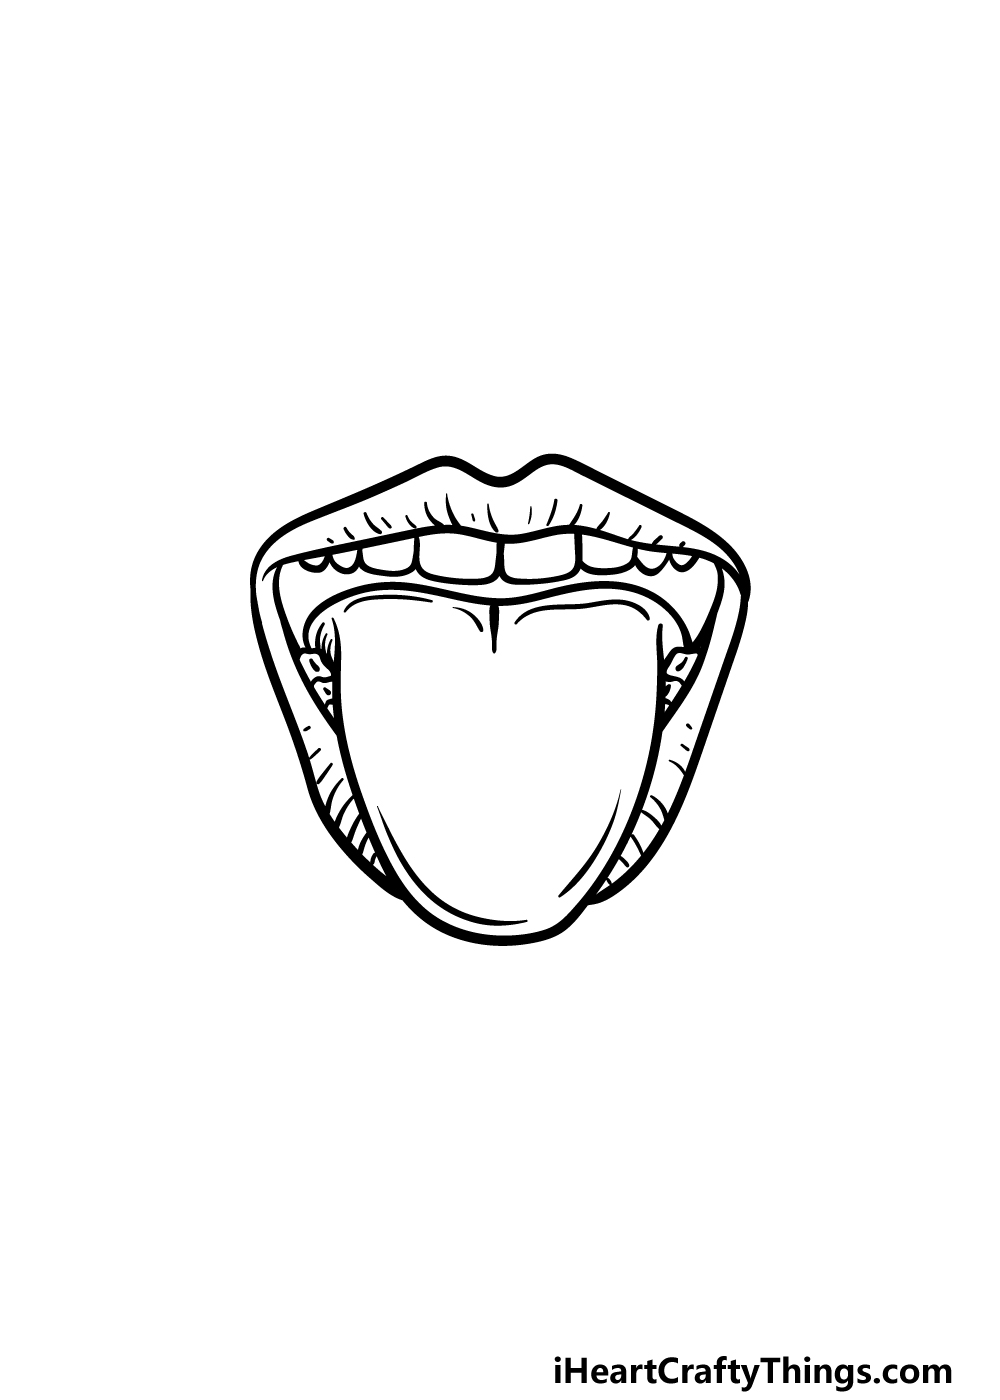
As we mentioned in the previous step of this guide on how to draw a tongue, we will be finishing off the final details and elements in this fifth part.
To start this process off, start y drawing some small lines running along each lip. This will help to give the lips a bit more texture.
Then, we will turn our focus to the tongue and draw some detail lines along the edges of the sides and the top of the tongue.
Once these details are drawn, we will then be ready to proceed to the final step! Before you do, be sure to add any extra details of your own that you may like for it.
You could draw some more of the face or add some fun details like a ring for some ideas. What can you think of to finish this drawing off?
Step 6 – Finish off your tongue drawing with some color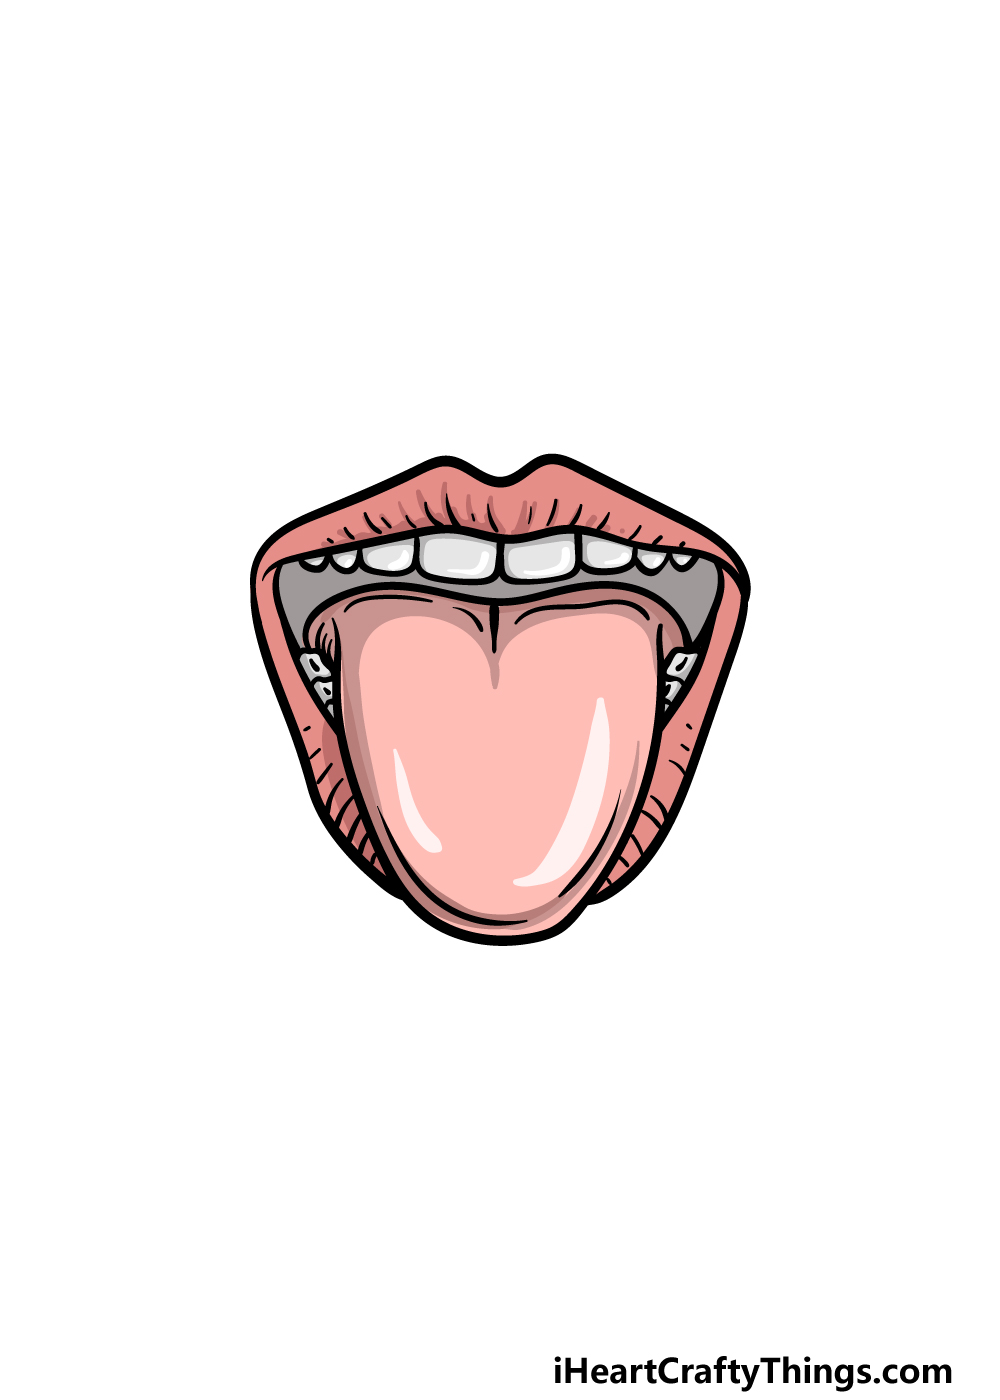
Now we shall finish off this awesome tongue drawing with some color! In our reference image, we used various shades of light reds and pinks on the lips and tongue.
By using various shades, you can make it look a little more realistic. You could use similar colors for your own drawing, but you should also feel free to use any colors of your own!
For example, it could be fun to use a bright red on the lips to make it look like there is lipstick on them.
Which colors and art mediums do you think would best suit your rendition of this tongue drawing?
Your Tongue Drawing is Complete!
We hope that you had a wonderful time working with us on this step-by-step guide on how to draw a tongue!
Even though we all have a tongue and see it every day, it can still be quite tricky to draw one and have it look right. That's why we tried to break it down into smaller, more manageable steps for you in this guide.
Now that you have mastered this drawing, you can take over and use your creativity to add to it and personalize it even more!
You could add some details or incorporate it into a background or design for just a few ideas, but there are tons of ways that you could make this your own!
Then, when you're finished with this guide we hope that you will visit our website. We have tons of guides there for you with more on the way, so stay tuned for those!
We also hope that you will share your tongue drawing on our Facebook and Pinterest pages for us to enjoy!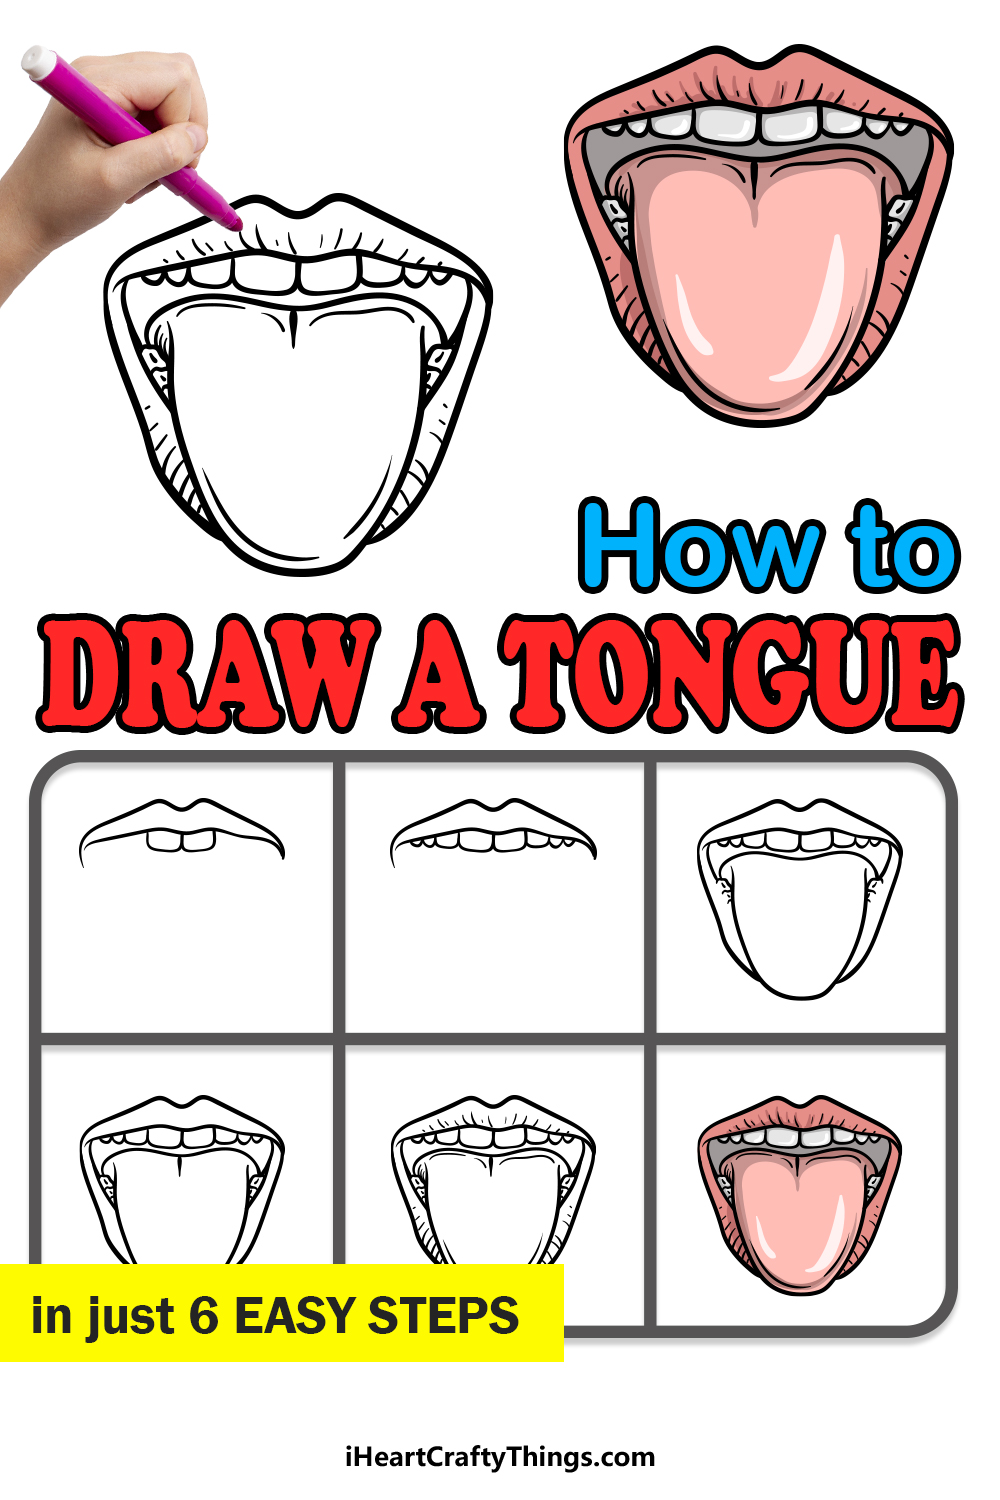
How To Draw A Tongue For Kids
Source: https://iheartcraftythings.com/tongue-drawing.html
Posted by: richardswhishour.blogspot.com

0 Response to "How To Draw A Tongue For Kids"
Post a Comment